How to Seam with Kitchener Stitch
May contain affiliate links (what's this?)The Kitchener stitch is excellent for joining two pieces of knitting together. While not exactly a stitch pattern, it’s a method for seaming that will create an invisible seam across stockinette stitch.
It may seem kind of scary, but don’t worry – I’ll show you how it works step-by-step.
Kitchener stitch works by seaming the live stitches together from two pieces of knitting. It’s best if the two pieces have exactly the same number of stitches.
Kitchener Stitch Video Tutorial

Once you get the hang of it, seaming with kitchener stitch can be kind of meditative.
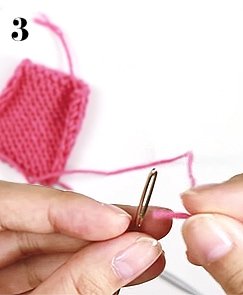
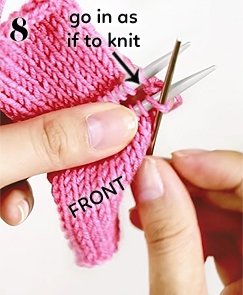
Something to keep in mind: when you’re pulling the tapestry needle through a stitch, tug firmly to prevent any holes from forming at the seam. You want to keep an even tension.
I recommend watching the video up top first, and then going through the photo guide below as a refresher.
Kitchener Stitch Photo Guide:
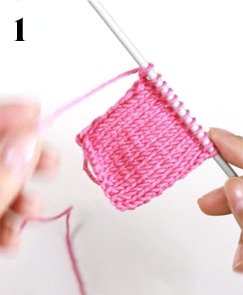
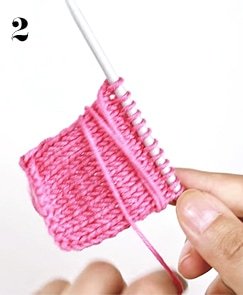
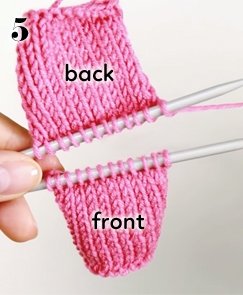
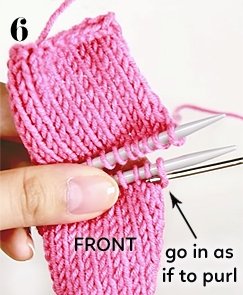
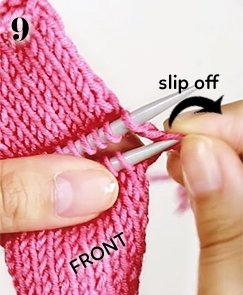

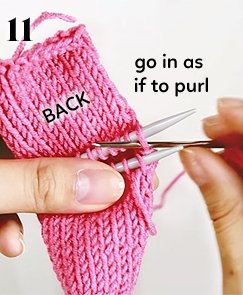
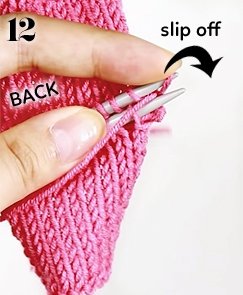
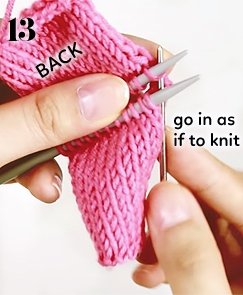
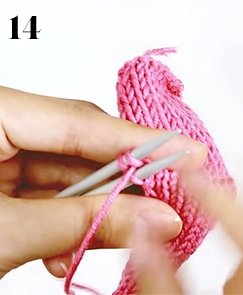
The mantra you should remember is this:
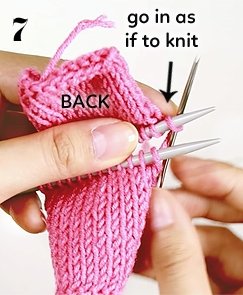
Front Needle: knit off, purl on
Back Needle: purl off, knit on
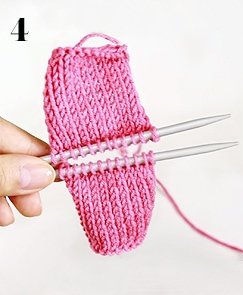
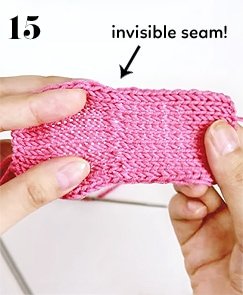
Once you’ve seamed the two pieces together, admire your work! If it looks a bit bumpy, you can steam block it to get out any uneven-ness.
And that’s all there is to the Kitchener stitch!
I never really understood the basics of a mattress seam before reading your well written instructions and watching your video. Now I feel confident enough to go ahead and attempt this!!!! Thank you for explaining it so well.
Love your methods!
Yvonne