How to Mattress Stitch an Invisible Seam
May contain affiliate links (what's this?)If you’re wondering how to mattress stitch your knit stitches together, then you’ve come to the right place. Mattress stitch is an easy, intuitive way to seam up your work, leaving a nearly invisible seam.

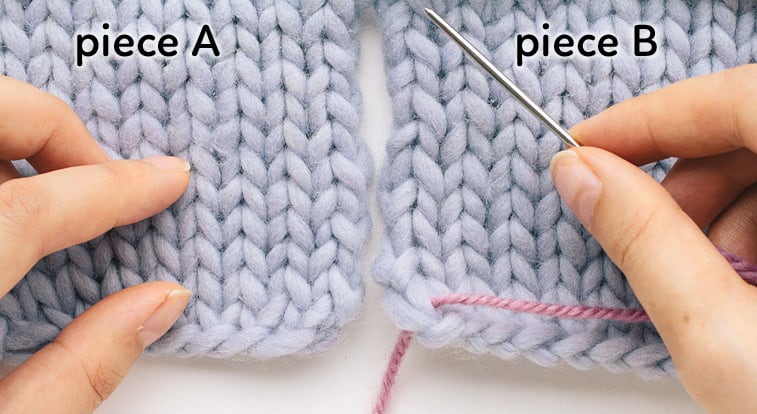
Start by laying two pieces of knitting side-by-side, with right sides facing up. Measure out a length of yarn that is at least three times the length of the desired seam. Thread it up with a tapestry needle.
On piece B, starting at the bottom corner where the seam will begin, bring the tapestry needle from the back of the knitting to the front. Pull through, leaving a 6 inch tail at the back. We’ll call this stitch B1.
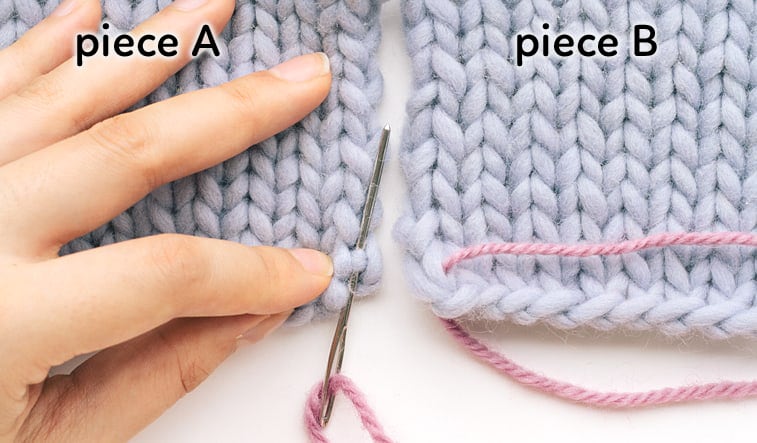
On piece A, locate the stitch across from stitch B1. We’ll call this stitch A1. Insert the tapestry needle into stitch A1, going under the bar of the stitch. Pull the yarn through.
Now, return to piece B. Use the tapestry needle to pick up the bar in the stitch just above the original B1 stitch. Pull the yarn through.
Return to piece A. Use the tapestry needle to pick up the bar in the stitch just above the A1 stitch. Pull the yarn through.
Note: depending on the gauge of the yarn, you can pick up the bar of a stitch every other row instead of every row. It’s a matter of gauge and personal preference.
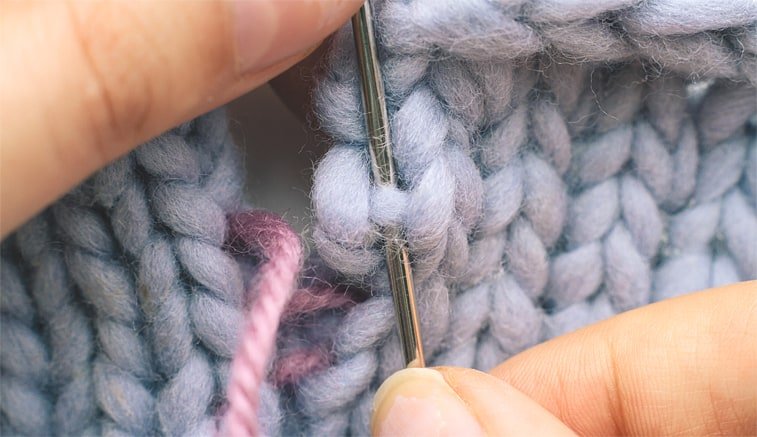
Repeat the above steps, alternating between piece A and B. Continue working along the two pieces, drawing the tapestry needle under the bar of each piece.
After inserting the needle into the bar of a stitch, you don’t need to tighten the yarn. Unless the seam is very long, we can tighten it once the whole seam is worked.
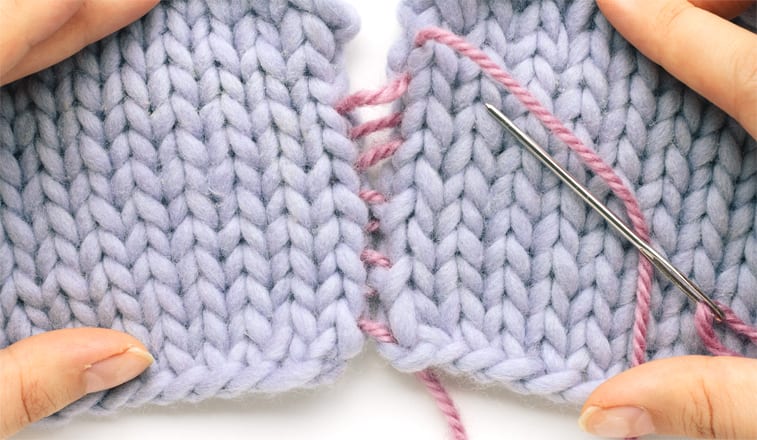
When you’ve seamed the length of the knitting, gently pull the yarn from the top and bottom to close up the seam. Pull until the two pieces touch and the seam looks tight and even.
Sew a few stitches between piece A and B to close up the edge of the seam. Then, weave in the yarn ends. Now you’ve got an invisible seam. It looks great, if I do say so myself!
When you turn the knitting over, you’ll see the seam on the “wrong” side of the work.
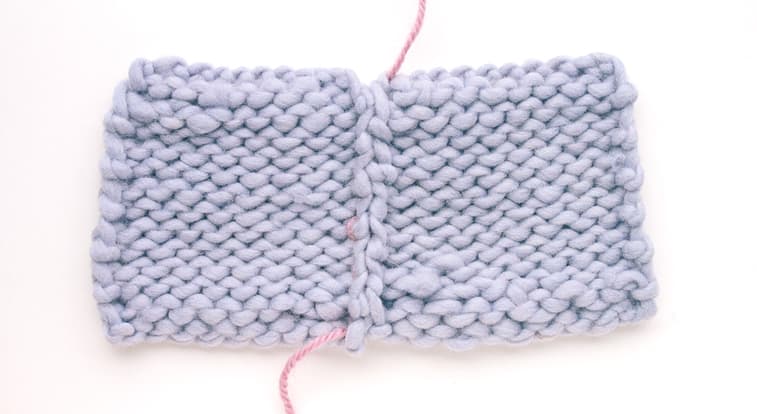
When seaming, try to stick close to the edge of the work. The closer you stay to the edge, the thinner the seam will be. In this example, I stayed very close to the edge of the knitting. That’s why the resulting seam is not too bulky.
If you’re sewing together a cap, after sewing up the top, you have to start at the top instead of the bottom. I used safety pins (large) to make sure the sides were even before I started “sewing”.