9 Quick And Easy Knit Gift Ideas And Patterns With Step By Step Instructions
May contain affiliate links (what's this?)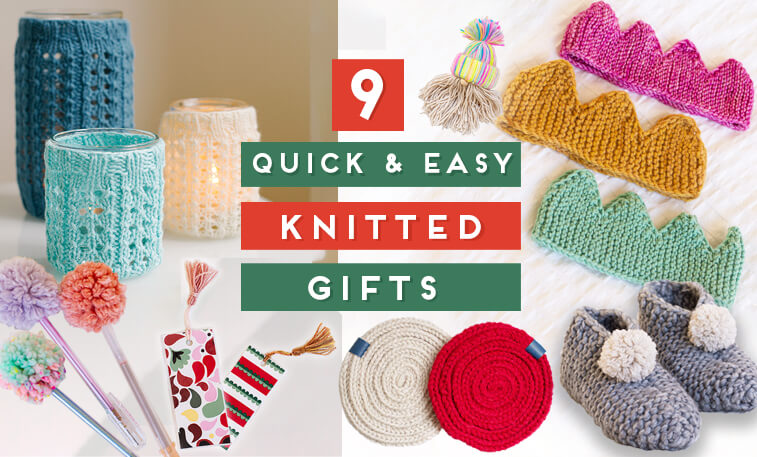
If you’ve ever wondered, what can I knit for my friends? Then these knit gift ideas are for you!
I’ll go through these knitted gifts from the easiest and quickest to the “longest” and “hardest”.
Keep in mind that “hard” and “easy” are relative, and most advanced and adventurous knitters can crank out these gifts pretty quickly.
A pair of slippers, which takes about 6-8 hours to make is the “longest” gift on the list.
Most of these patterns are great for beginner knitters and make great Christmas gifts. I’ve linked the free knitting patterns so you can knit along too.
Let’s get started!
Easy Knit Gifts Video
Watch the full video where I show you how to make last-minute knit gifts!
1. Furry Pen – 30-45 mins
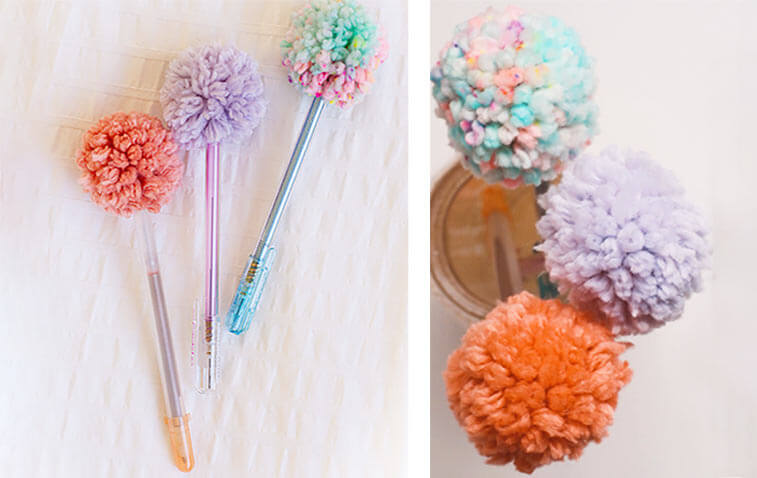
These furry pens are made by creating a Pom Pom and gluing it to the top of the pen using a glue gun. I find that tween and young teen girls love this handmade gift!
Pom Pom Materials:
- scrap yarn (sport to aran weight recommended)
- cardboard
- sharp scissors
- glue gun
- pens
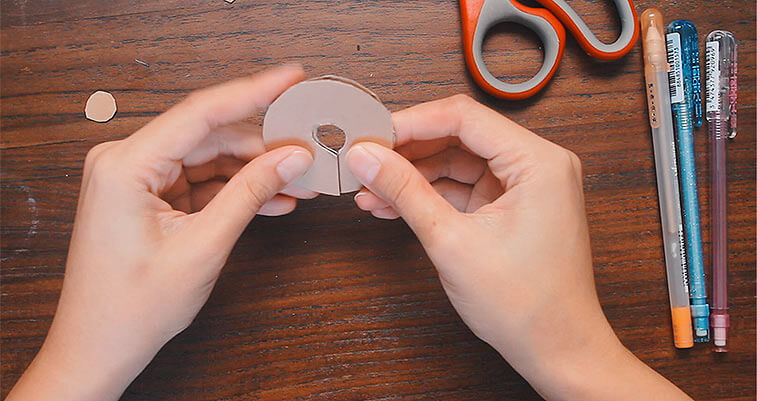
First, create a cardboard tracer with a round object that’s around 2” in diameter. Then make a Pom Pom by wrapping the yarn around the tracer.
This is a detailed tutorial on how to make a Pom Pom. Please check it out and watch the tutorial video if you’re new to Pom Pom making.
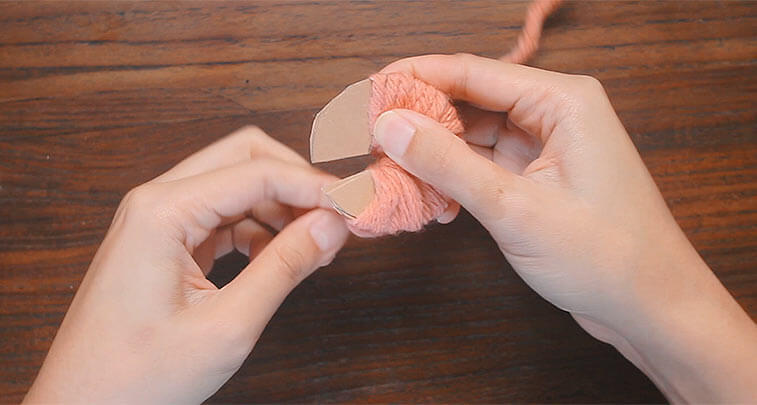
Trim the Pom Pom so that it’s perfectly round. Then spread the pom and dab a big glob of glue in the middle. Quickly push the pen into the glue and hold it still until the glue is fully dried, around half a minute.
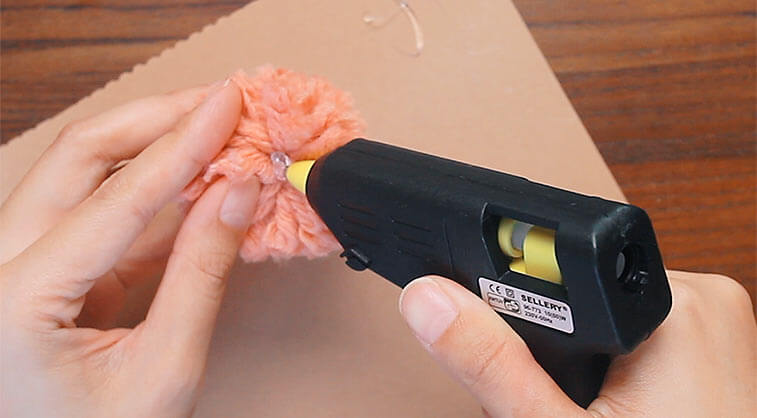
Do a final trim of the Pom Pom if needed. Then the fuzzy pen is complete and ready for gifting. This is the easiest and quickest of the knit gift ideas!
2. Tassel Bookmarks – 30-45 mins
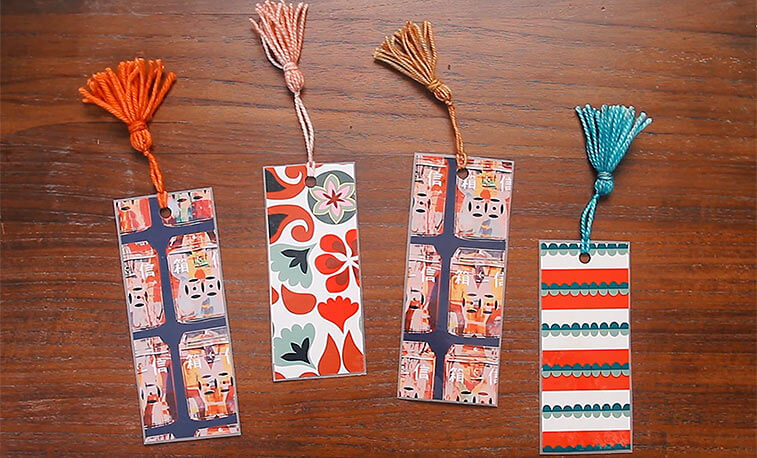
Bookmarks harken back to a simpler time when reading a book meant holding a bound collection of pages in your hands – as opposed to an e-reader or an app.
Bring back that nostalgia with these pretty tasseled bookmarks. They can be personalised with custom messages and graphics that your bookworm giftee will love!
Even though I’m using lamination sheets, I’m using a regular iron to melt the sheets together. No laminator required!
Tassel Bookmark Materials:
- paper for laminating (I’m using wrapping paper)
- scrap yarn preferable no heavier than sport weight.
- scissors
- lamination sheet or pouch
- iron
- hole punch
- small piece of cardboard or card stock
- tapestry needle

First, cut the bookmarks into the shape and size you like. Then, place them into the lamination pouch, giving each bookmark a generous margin. Then cut a large margin around the lamination sheet.
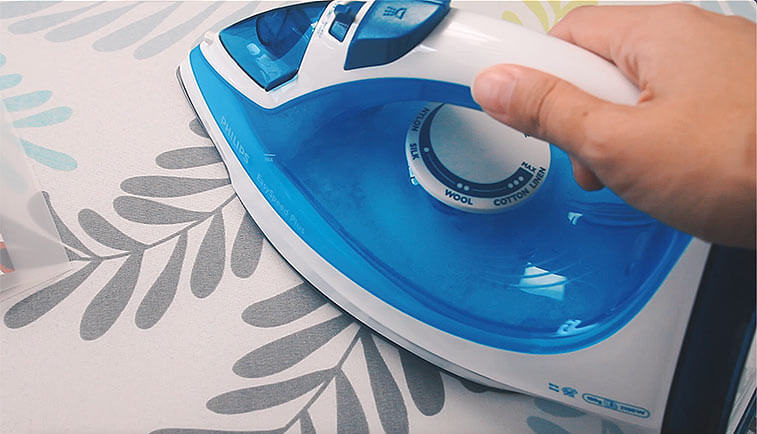
Pour out any water in your iron. You want the iron to be hot and dry – not steamy. Set the iron to its highest setting. This is usually the Cotton/Linen setting.
Place a cotton fabric on top of the lamination. Iron over the fabric, working in even strokes, for about 20-30 seconds. Check that the lamination has melted together at the margins. Then, turn the lamination over and repeat on the other side.
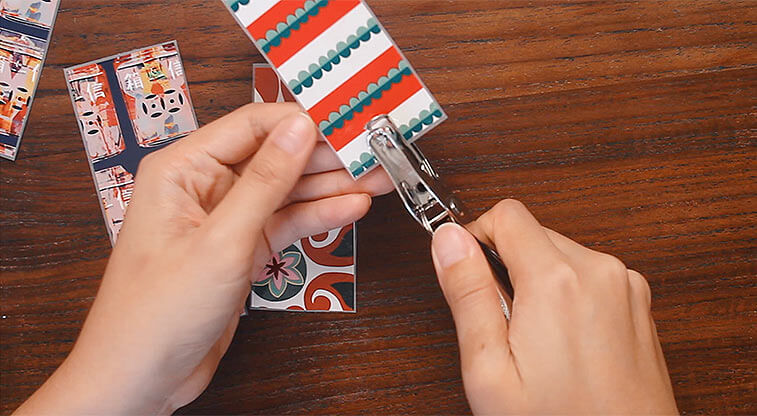
Allow the lamination to cool to room temperature. Then, cut around the bookmarks, leaving a small margin for the lamination. Punch a hole at the top of the bookmark.
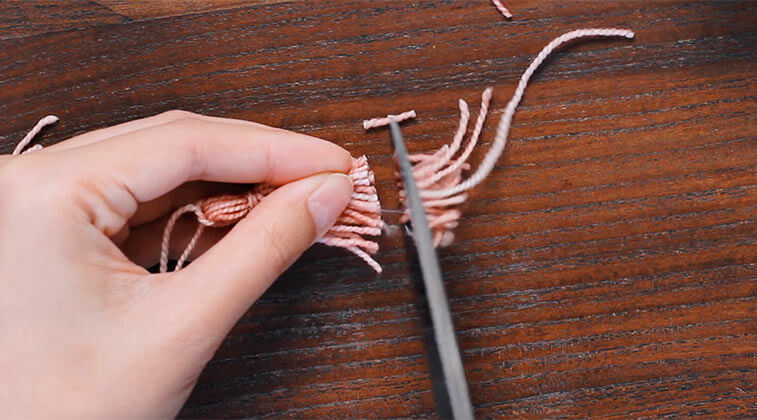
To create a tassel, cut a 2×2” piece of cardboard and wrap the scrap yarn around it 12 times. I’m using sock weight yarn for a delicate tassel.
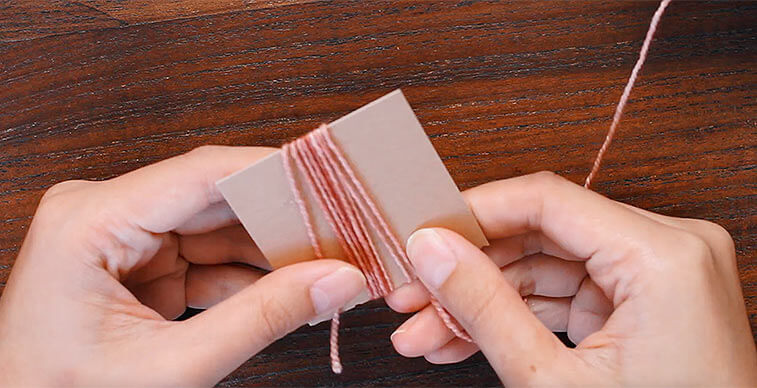
Then cut a 10” length of yarn and slip it underneath the loop of yarn on the cardboard. Tie a knot. Cut the yarn loop on the cardboard loose. This is the tassel body.
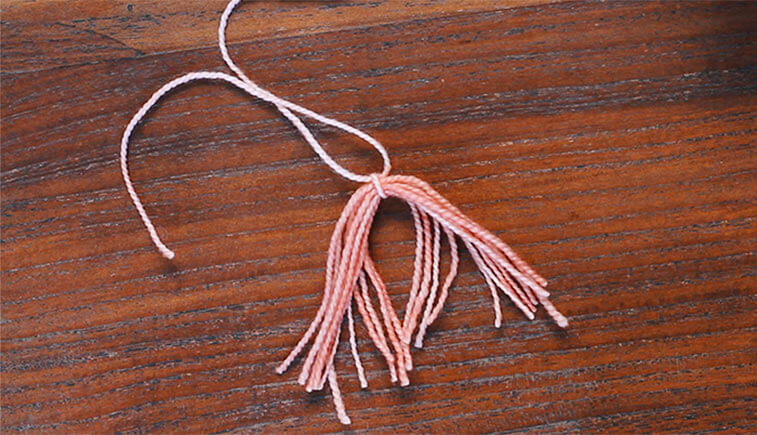
Cut another 10” length of yarn and tie a knot around the tassel body, about one centimetre down from the knot. Then wrap one end of the yarn around the knot a few times. Knot it together with the other end of the yarn.
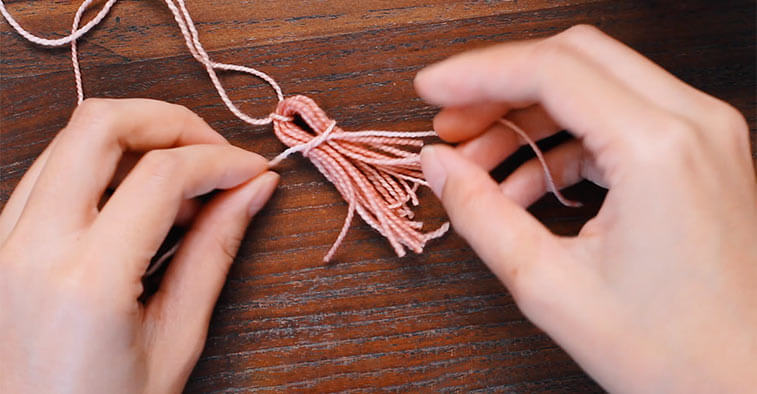
Use the tapestry needle to weave these two ends of yarn into the body of the tassel. Trim the ends of the tassel so that they’re neat and uniform.
Tie a knot about 3” down from the tassel tie. Trim off the ends of the knot. Then weave the tassel through the hole in the bookmark from the “wrong side.” The bookmark is complete!
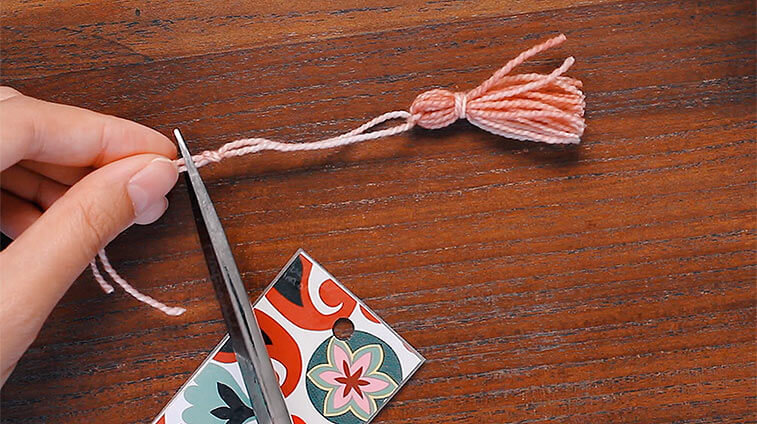
For a seamless way to attach the tassel, watch the video tutorial above. I’ll show you how to hide the knot inside the tassel for a perfect finish.
3. Celebration Crowns – 1-1.5 hours
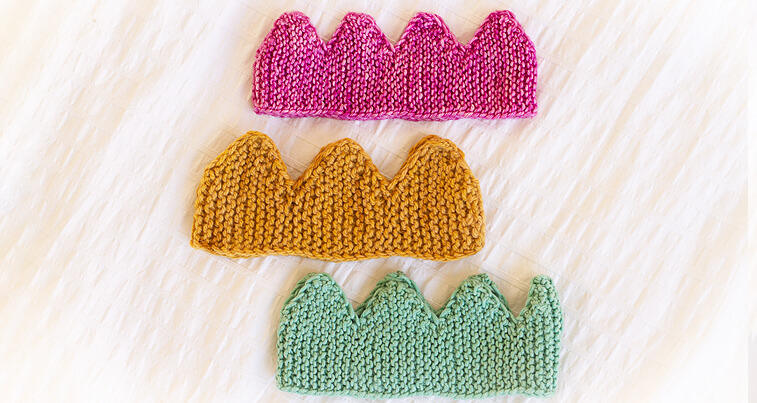
Knit crowns add fun and whimsy to any event. Wear them for birthdays, holidays, game nights and any celebration. I’ve noticed that kids and adults are extra silly when wearing these crowns!
While I’ve included a pattern for these crowns, note that the actual cast on stitches can be adjusted for your gauge.
Check out the full Celebration Crown pattern here.
Materials for the Crowns
- 50 yards of worsted weight yarn
- 4.5 or 5mm straight needle
- tapestry needle
- iron (optional for steam blocking the points of the crown)
Knit Crown Video Tutorial

Watch the video tutorial where I walk you through how to knit these crowns!
4. Gnome Ornament – 1-1.5 hours
These gnomes are adorable and very easy to make! They look great sitting together on a mantlepiece or hung on a Christmas tree.
While the gnome doesn’t involve any knitting, it’s a great project for using leftover yarn!
Check out the full Gnome Ornament post here.
Gnome Ornament Video Tutorial

Watch the video tutorial where I walk you through how to make these gnome ornaments.
Materials for Gnome Ornaments:
- paper toilet roll
- beige, white or grey yarn (for the beard)
- contrasting yarn (for the hat)
- book or cardboard
- wooden bead
- glue gun
- yarn, string or twine for hanging the ornament
- tapestry needle
- scissors
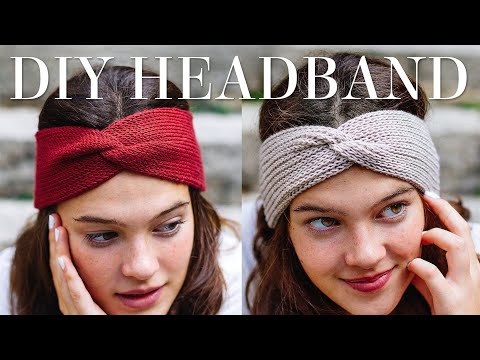
5. Fisherman’s Rib Twisted Headband – 2-3 hours

A headband is the quintessential quick knit. It’s both cute and practical, and it can be completed in a single day!
Fisherman’s Rib Twisted Headband Video:
To watch the Fisherman’s Rib portion of this video, skip to 14:02. Double stockinette takes much longer to knit, so it’s not recommended if time is of the essence.
While I’m using worsted weight yarn, this pattern is very customisable. Use thinner or thicker yarn and adjust the number of cast on stitches. Just make sure to cast on an odd number of stitches. For my headband, I cast on 17 sts.
Headband Materials
- Yarn Used For Double Stockinette Stitch: one ball of Rico Essentials Merino DK in the color Brick Red (79)
- Yarn Used For Fisherman’s Stitch: one skein of Swans Island Washable Wool Sport in the color Edgecomb Grey
- Recommended Needles: 1 pair of 4.00mm needles for Double Stockinette Stitch Headband and 1 pair of 3.75mm needles for Fisherman’s Rib Headband.
- Tapestry needle
The full twisted headband pattern is available for free here.
6. Knit Potholder – 2-3 hours
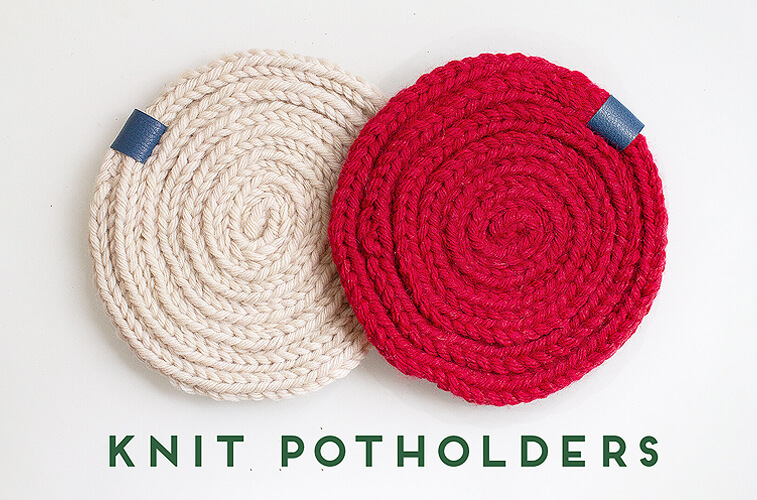
A potholder is a great knit gift for housewarmings or for people who love to cook. This potholder is made with chunky yarn, but any yarn that’s worsted weight or heavier can be used.
Just remember to use a yarn that is spun with natural fibres. For instance, wool, cotton, hemp or alpaca. Synthetic yarns like acrylic or polyester run the risk of melting if the pot that’s placed on it is too hot!
Knit Potholder Video Tutorial

The full spiral potholder blog post, including materials is linked here.
Materials for the Potholders
- 50 yards of chunky yarn
- 6mm double pointed needles (or circular needles)
- tapestry needle
- scissors
- sewing needle
- sewing thread in a color that matches the yarn
- small piece of leather (optional)
- sewing thread that matches the leather (optional)
7. Crossover Cowl – 3-4 hours
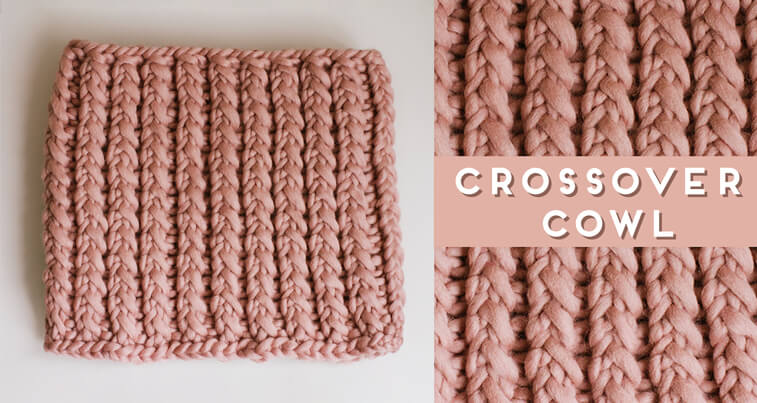
This cowl is so cosy and textured, it’s just asking to be snuggled into! Best of all, it’s knit with super bulky yarn, so it only takes a few hours to make. A two-row pattern repeat makes this a total breeze to knit!

This cowl is easily customisable. To make the cowl larger or smaller, cast on a multiple of 3 sts (ie. 3, 6, 9, 12 etc.) to ensure that the stitch pattern “fits”.
The cornerstone of this pattern is a technique abbreviated to K2tbl-ktbl, which stands for “knit two through the back loop; knit through the back loop. This creates the beautiful crossover stitch.
The full Crossover Cowl pattern is available here.
Materials for the Cowl
- 85 yards of super bulky yarn (1 ball West Yorkshire Spinners Re:Treat Superchunky in color Fulfil)
- 16” 10mm circular needle
- stitch marker
- scissors
- tapestry needle
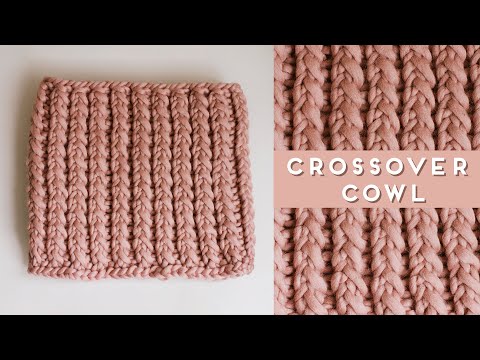
Crossover Cowl Video Tutorial
8. Candle Cosy 3-4 hours
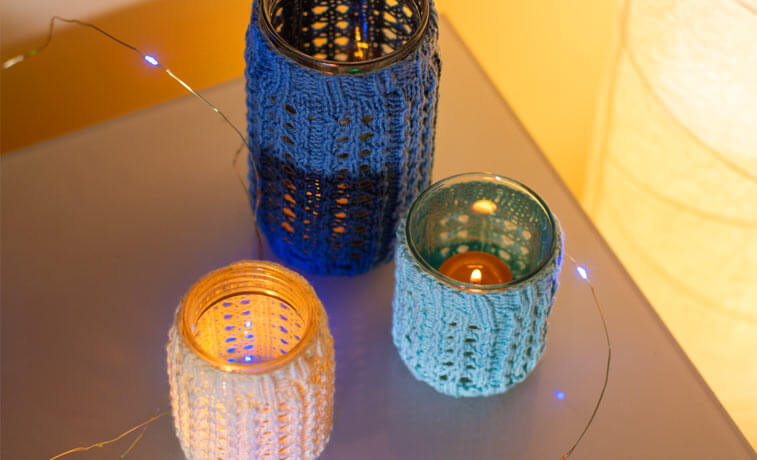
These candle cosies are great for turning empty glass jars into glowing ornaments. After knitting the cosy, pop in a candle or tea light and voila, the jar is transformed!
The patten is flexible and will require a bit of adjusting and customisation to fit your glass jar. I’ve included instructions within the pattern on how to adjust the pattern.
Click here for the full pattern for the candle cosy.
Candle Cosy Video Tutorial

Watch the full video tutorial for the candle cosy above.
Materials for the Candle Cosy
- Paintbox Yarns Cotton DK in color Washed Teal
- 4mm double pointed needles (or long circulars for magic loop)
- glass jar
- tapestry needle
- scissors
9. Chunky Slippers 6-8 hours
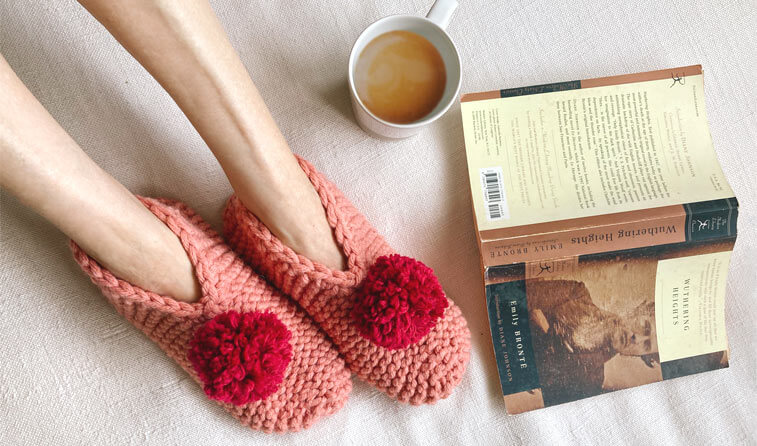
No one ever said, “Cosy slippers? Yeah, I’m not into that.” Slippers are one of the best gifts to receive in the cold winter months. Best of all, they are very quick to knit!
Top off the slippers with a leather sole to make them anti-slip, and you have the perfect holiday gift!
Theses slippers come in three sizes: Child, Adult Small and Adult Large size.
Grab the free slipper pattern here.
Slipper Knitting Pattern Video
Watch the full tutorial video for the slippers.
Yarns and Materials for the Slippers:
- 2 (2, 3) balls of Paintbox Yarns Wool Mix Super Chunky (60 yds/100g; 50% wool/50% acrylic) in Vintage Pink
- 1 ball of Paintbox Yarns Wool Mix Super Chunky (60 yds/100g; 50% wool/50% acrylic) in Red Wine
- US 10/ 6mm knitting needles
- 8mm crochet hook
- tapestry needle
- 2 locking stitch markers (safety pins work too)
- scissors
- cardboard
- suede leather for sole (optional)
The body of the slipper requires 110 yds for Child Size, 120 yds for Adult Small and 140 yds for Adult Large. Approximately 10 yds is required for the pom poms.
WOW! After three days, I just came on the website, and these videos are all up!
I will try these knitting patterns for the holidays!
Better get Knitting!
Yes please do! Happy new year!
Enjoyed watching the slipper video. Love your directions.
I just started knitting and was thrilled to find your videos. They are by far the best!
Would you consider showing two things:
1. How to add the second skein of yarn.
2. How to make placemats
Hey Davina! I love how you incorporated the single crotchet into the slippers. I crotchet and knit and I think it’s so cool to combine them. Do you have any knit amigurumi patterns (knit animal patterns)? I think they are so cute and would LOVVVEEEE to have a knit version of amigurumi, as the crotchet version is very nice to.