Knit Stitch for Total Beginners
May contain affiliate links (what's this?)If you’re googling, “knit stitch how to,” then you’ve come to the right place!
The knit stitch is the most basic and fundamental stitch in knitting. After all, it’s the namesake of the craft we’re learning. Master the knit stitch, and you’re a bonafide knitter!
In this post, I’ll show you how to knit the knit stitch step-by-step.
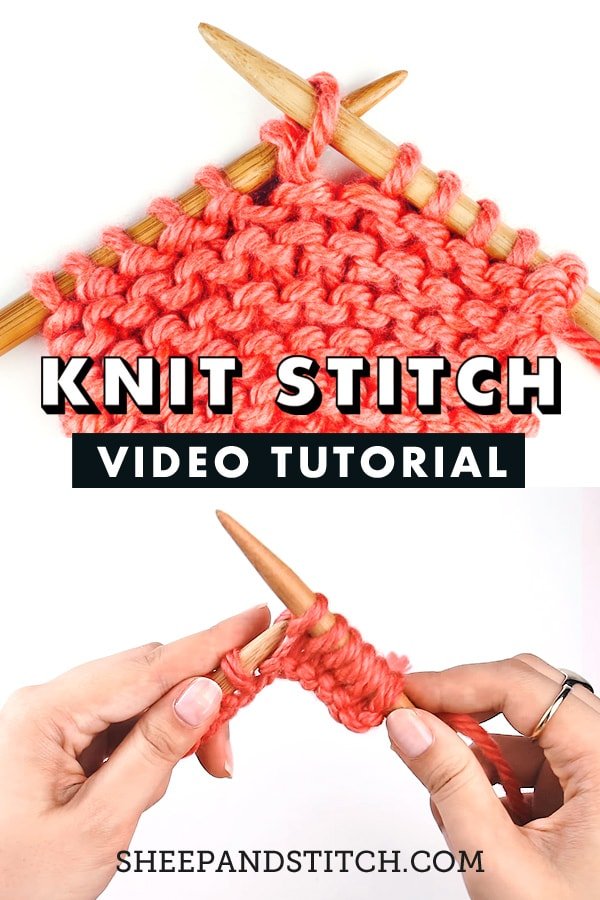
Knit Stitch Video Tutorial

Like most skills, knitting takes time to perfect. You probably won’t get the hang of it on your first try.
You probably won’t even get it on your second try. The important thing is to keep trying.
Why?
You’ve heard the concept of “muscle memory,” right? It’s the idea that the more you repeat a movement, the more it becomes second nature.
Because the movement is controlled by your subconscious mind instead of your conscious mind, you don’t need to think through each step of a movement. Without thinking, you can just do it. That’s muscle memory!
So, don’t fret if you don’t get the knit stitch right away. Most people don’t. The more you practice, the faster muscle memory kicks in.
Before you know it, you’ll be knitting with your eyes closed. You’ll have muscle memory to thank for that!
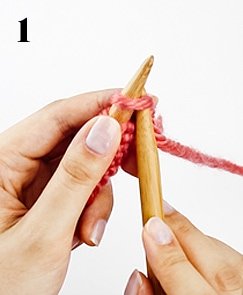
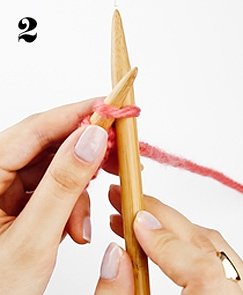
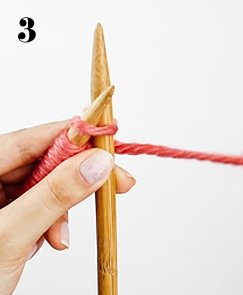
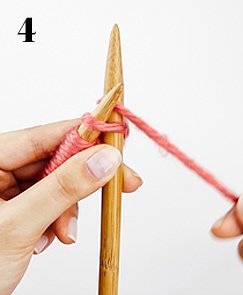
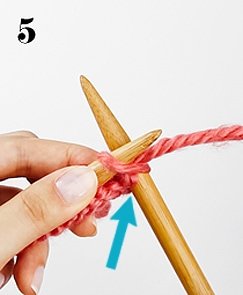
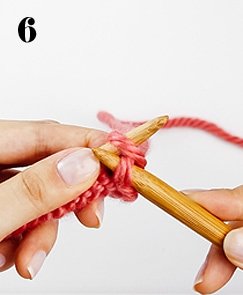
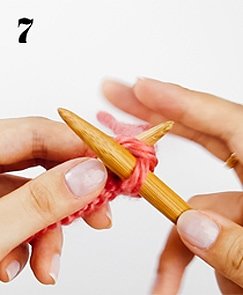
Knit Stitch Photo Guide
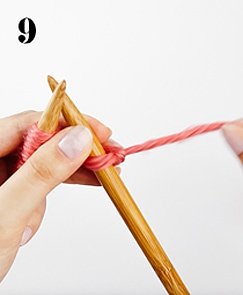
To get started, cast on 10 to 12 stitches. We’re just going to practice the knit stitch here. No pressure!
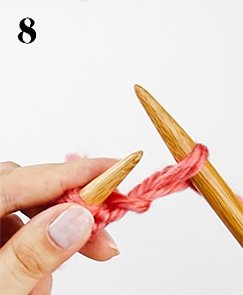
Once you’ve finished knitting the entire row, the yarn attached to the ball will be on the left side of your row (aka. the end of your row). In order to keep knitting, the yarn needs to be at the right side of the row (aka. the beginning of the row).
How to do this? It couldn’t be easier! Just spin the needle around, like so:
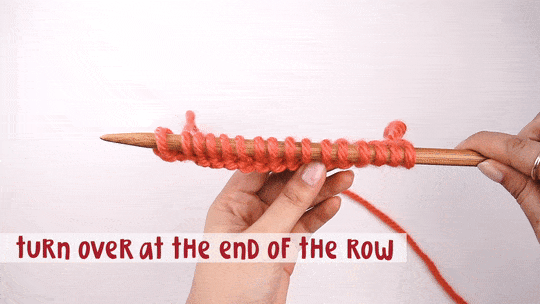
Ta-da! The working yarn (aka. the yarn attached to the ball) is now at the right side of the row, and you’ve got a new row of stitches, ready to be knit!
Each time you get to the end of the row, just spin your work around so that the working yarn faces the right.
Keep going until your knitting is as long as you want it to be.
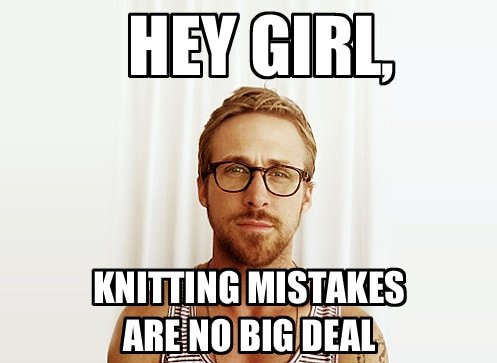
Making Mistakes? No Big Deal!
It’s very common for new knitters to make mistakes. Dropping stitches, adding new stitches, and pulling yarn tight – these are all totally normal for beginners.
When you’re just learning how to knit, I suggest that you completely ignore the mistakes.
Dropped a stitch? Who cares! Just keep on knitting.
Added a handful of new stitches? No biggie! Just keep on knitting.
I take a “Just keep knitting” approach because a lot of these beginner mistakes gradually disappear as you become more comfortable and confident as a knitter.
It’s more important to get used to knitting than it is to solve all these beginner mistakes.
Treat your first foray into knitting as purely practice.
Don’t expect to knit a perfect scarf on your first try. Instead, expect mistakes and embrace them.
Once your hands get used to knitting and you’re able to knit several rows without freaking out, rip back your knitting.
Rip it all out! It’s practice. Don’t get too attached.
Then, cast on again and practice some more. When you’re ready, you can move on to your first project!
At this point, you can explore knitting mistakes, like dropped stitches, tight knitting, and accidentally added stitches. But my advice is not to fret about mistakes until you can work a couple rows of knit stitches with some confidence.
Click This: Common Beginner Knitting Mistakes & How to Fix Them
Materials Used in this Post:
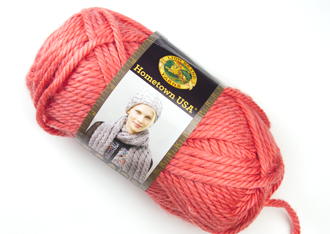

In this tutorial, I’m using Lion Brand’s Hometown USA in color Fort Lauderdale Coral and 8mm bamboo needles (similar).
Are You New to Knitting?
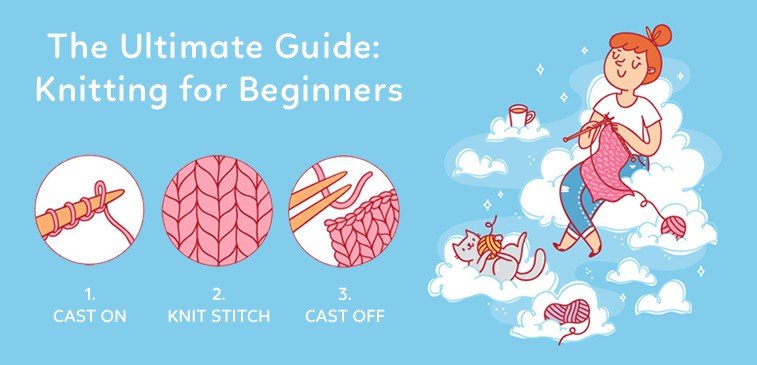
I’ve made a detailed guide for new knitters! It covers the very basics: cast on, knit stitch and cast off.
These three techniques are the backbone of knitting. Master them, and you’re officially a knitter!

Would like more written stuff but. Have enjoyed this
Am trying to make. A scarf. Sony
T know what stitch to use for what I say would. Be wrong side purl or knit