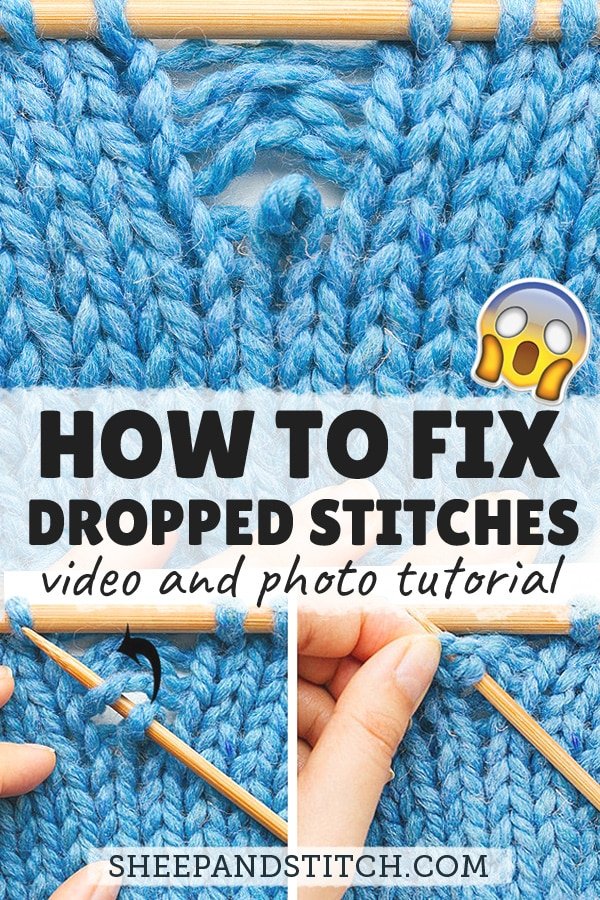
How to Fix a Dropped Stitch
May contain affiliate links (what's this?)At some point you’ll need to fix a dropped stitch. It’s an unfortunate fact of knitting, as certain as death and taxes. You’ll recognise a dropped stitch by a long tear in your fabric and a wayward stitch at the bottom.
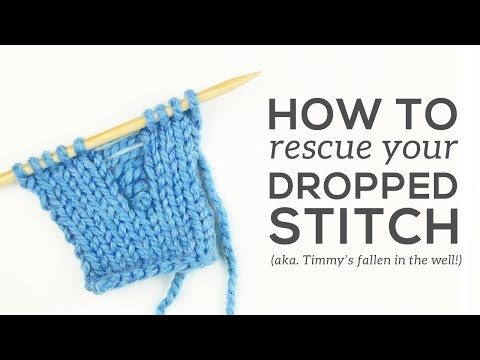
When this happens, don’t panic! As frightening as a dropped stitch looks – so sad and helpless, like a child fallen into a well! – it’s nothing to fret about.
On stockinette stitch it takes less than a minute to fix a dropped stitch. When you’re done no one will be any the wiser!
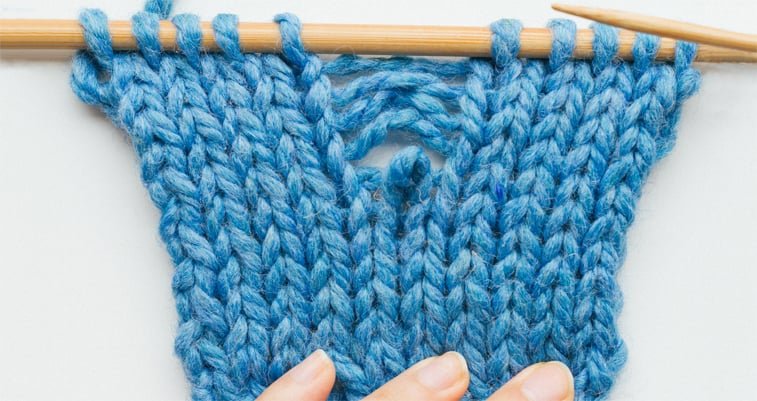
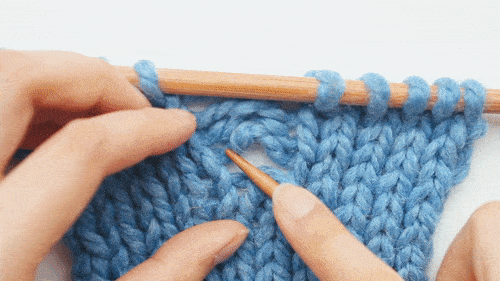
To begin rescuing the dropped stitch, spread out all the stitches on your needle so that the loose strands of yarn above the dropped stitch are stretched out and clearly visible.
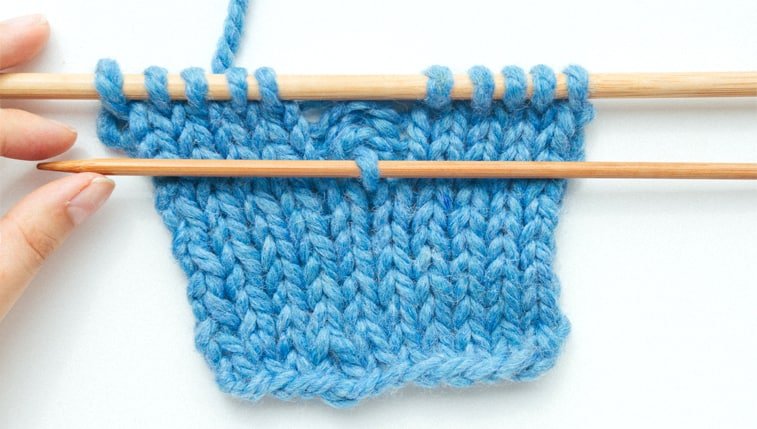
Then, use another needle (preferable a doubled pointed needle) to pick up the dropped stitch. We’ll call this the safety needle. Pick up the stitch so that its left “leg” is sitting on the front of the needle.
Having the stitch’s left leg in front is unorthodox since this normally leaves a stitch twisted. However, in this situation, the dropped stitch will untwist itself as we move it up towards the main needle.
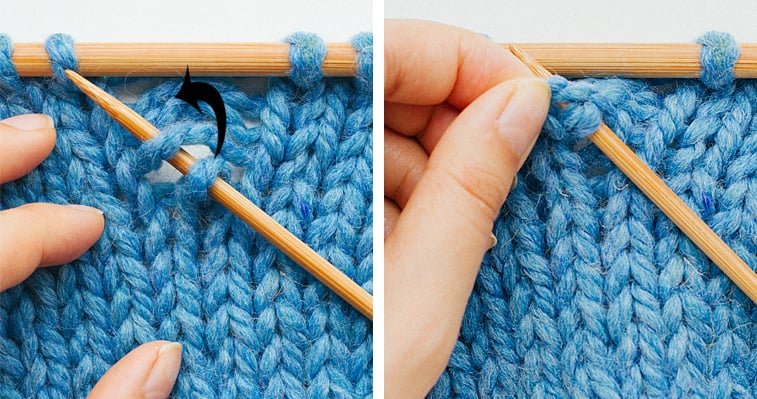
With the safety needle, go underneath the strand of yarn above the dropped stitch. Then, pull the dropped stitch over the strand of yarn and off the needle. The dropped stitch has climbed up by one row. We’ll continue to move it up, row by row, until it reaches the main needle.
Once again, bring the safety needle underneath the strand of yarn above the dropped stitch. Pull the dropped stitch over the strand of yarn and off the needle.
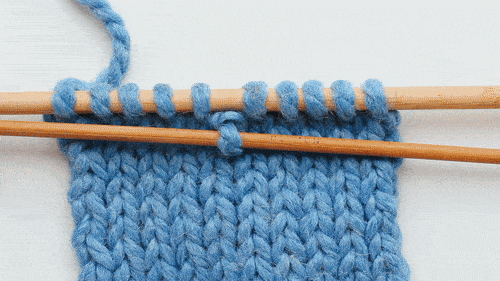
Continue “climbing” up the rows in this manner until the dropped stitch has risen to the top of the needle. The whole process looks like this:
When the stitch has reached the top of the needle, it’s ready to rejoin the rest of the stitches. Place the dropped stitch back onto your main needle, and continue knitting. The process looks like this:
Once the stitch is back on the needle, the knitting will look pristine with no trace of the dropped stitch. It’s like the dropped stitch didn’t even happen!
To pick up a dropped stitch on garter stitch, watch the video tutorial at the top of the page, and scrub ahead to the 3:10 mark. The process is very similar to the stockinette method, but will include a method for moving the dropped stitch purl-wise.
This concludes the post on fixing dropped stitches. Should you drop a stitch or two in the future, I hope you now feel confident that you can rescue it with ease.

I love your website and am thrilled that you are back.
Thanks Deborah! I really appreciate that. And it’s great to have you here enjoying the site!
Extremely helpful thank you <3
Just finished watching this and the long tail cast on videos. Loved how clear and simple you make these. No one ever explained why the long tail so clearly before!! Definitely subscribed and plan to spend many hours perusing this site!! Thank you!
Hello! So I have a finished baby blanket (garter stitch), and I casted off so its basically finished. But I noticed I dropped a stitch and never noticed it when I was knitting. Is there any way to fix the dropped stitch even though I ended the blanket?
Thanks in advance 😀
Hello! I have a question. So I have a finished blanket (all garter stitch), and I found a dropped stitch in the blanket afterwards. Is there a way to fix the dropped stitch?
These tutorials are helping me SO much! Thank you ❤️
Awesome video! I really love the wording and this is basically my only reference, haha.