How to Join Yarn with the Spit Splice
May contain affiliate links (what's this?)
Balls of yarn aren’t endless. At some point, they run out.
When that happens, you’ll need to join a new ball of yarn to keep knitting.
Just as there are many roads to Rome, so too are there many ways to join yarn together.
The spit splice is one of those handy and slightly weird knitting hacks that seamlessly joins two strands of yarns together. The join is permanent and doesn’t require weaving in any yarn ends.
What makes it unusual is that it uses spit, as its namesake suggests, to get the job done.
In this post, I’ll show you step-by-step how to join yarn with the spit splice, along with some tips and tricks to help you get a perfect join.
What Yarns Work with the Spit Splice?
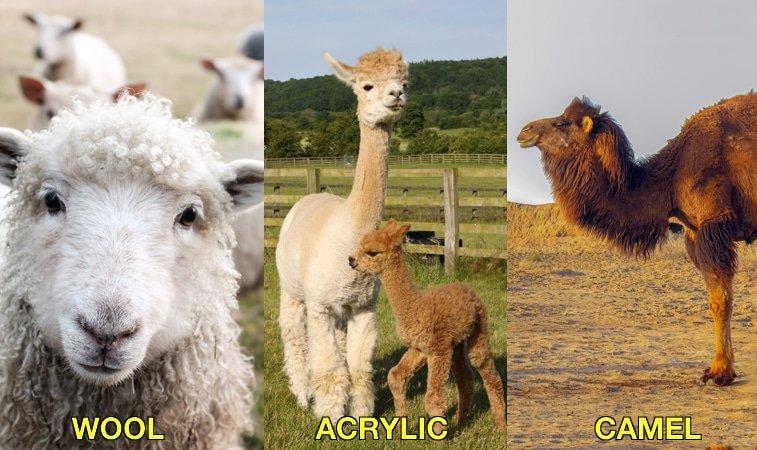
The spit splice works with animal fibres only. Meaning, wool, alpaca, mohair, camel and cashmere fibres can be joined beautifully.
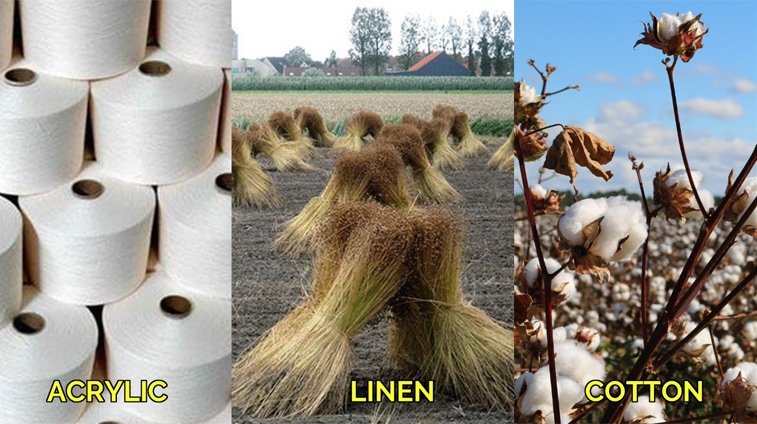
On the other hand, synthetic and cellulose fibres will not work with the spit slice. So, if you’ve got acrylic, polyester, cotton, linen or flax yarns, you’ll need to find another joining method (like the Russian Join for example).
Advantages of the Spit Splice
Unlike a traditional join, which includes weaving in the ends of both the new and old yarns into the knitting, a spit splice is seamless.
Because both new and old strands of yarn are felted together, the join is very strong.
Lastly, a spit splice creates a neater join than the traditional method. Because there are no ends to weave in, there are also no ends that will poke out from the knitting.
Spit Splice Yarn Join Video Tutorial

For a step-by-step video tutorial of the spit splice, look no further than this video!
Step-by-Step Spit Splice Tutorial
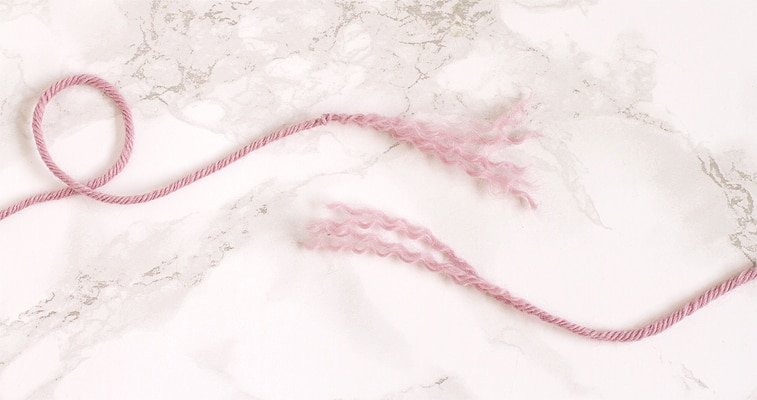
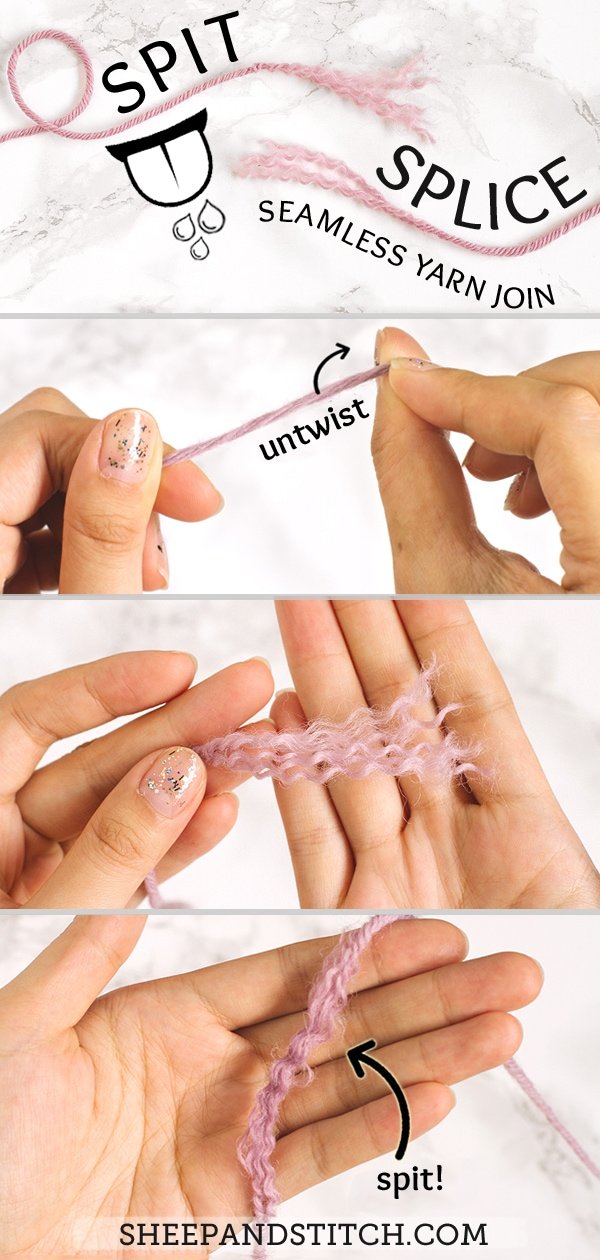
1. Untwist the Yarns
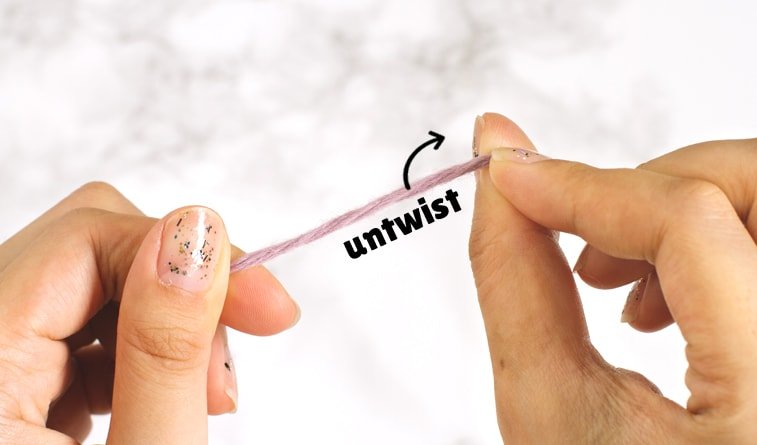
Untwist about 3 inches of each yarn strand. Loosen the plies on the yarn and slowly untwist them.
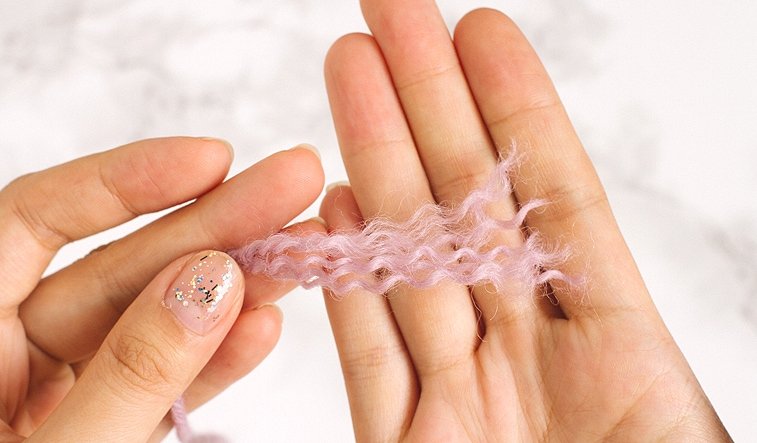
The yarn strands will look fluffy like crimped hair when they are un-plied.
2. Overlap the Yarns
Overlap the two strands of un-plied yarn.
3. Get Your Spit Involved
This is the potentially gross part. But I’ve got a couple options to make it less gross.
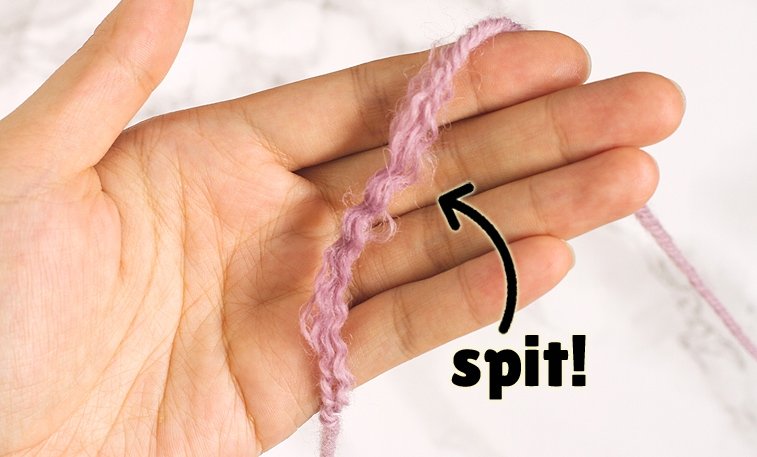
a. Put the overlapped yarn strands in your mouth and slobber all over it, like a dog with a bone. Cover both un-plied strands with your saliva (Gross Factor: 5/5)
b. Place the overlapped yarn strands on a plate and spit on them, covering both strands (Gross Factor: 3.5/5)
c. Dab a bit of warm water all over the overlapped yarn strands. While water will work, I personally find that saliva provides a sturdier join (Gross Factor: 1/5)
4. Rub-a-Dub-Dub
Lay the overlapped yarns on your palm. Then lay your other palm over the yarn, sandwiching it between your hands.
With the two un-plied yarn strands sandwiched in your hands, begin rubbing your hands together vigorously.
Continue rubbing for 3-5 minutes or until the spit has dried.
The friction and heat will eventually felt the yarn strands together.
5. Unclasp Your Hands. Ta-da!

After a few minutes, unclasp your hands and you’ll see that the strands are joined together. Hurrah! Such magic!
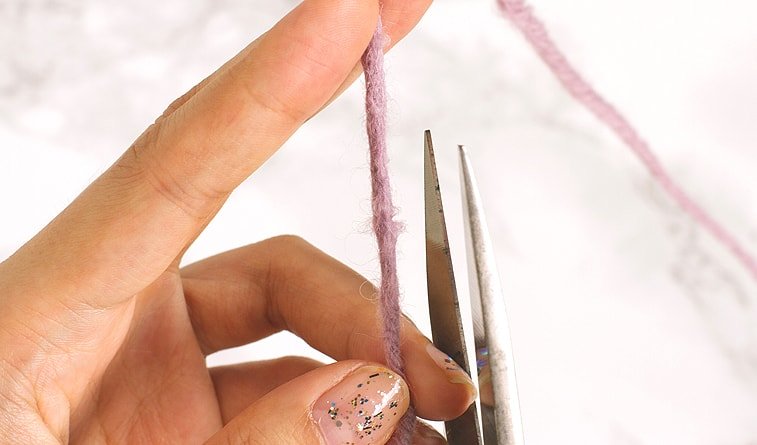
6. Trim Away the Furries
If you notice some furry or bumpy areas along the felted join, carefully use a pair of sharp scissors to trim them away.
In Conclusion, if you’ve got animal fibre yarns to join together, try the spit splice for a quick and easy join.
Now I’d like to hear from you:
Are you going to use the spit splice to join your yarn?
Will you use spit or water?
Let me know by leaving a quick comment below.

Hi Davina, in your photos in this article, you have the alpaca photo labelled as “acrylic”. Thanks for your helpful website and videos! The explanations are very clear and are easy to see in your videos. Keep up the good work!
I have been using the spit splice on an Aran pullover. I didn’t fray back 3″ though – probably more like 1-1/2 to 2 inches. Will that still hold? I tested each time by pulling the yarn to see if it would hold and it did, but now I’m afraid it might come undone over the years.
Thanks, btw, for the clear description of the process.
It really depends! I prefer a longer overlap because I’m anxious about unravelling. But if you do a tug and the join holds then it should be fine.
I used the spit and split method on a wool/acrylic yarn – worked great!
I’ve been knitting for over 30 years and never heard of this method. This is great. Awesome. No weaving in ends What more needs be said.
Can I use this technique with a combination of 70% baby alpaca and 30% bamboo yarn? It worked on all wool yarn for me in the past
I would it try it out as an experiment before doing it on a project just to be safe!
Would this work for 70/30 wool/acrylic yarn?
You can give it a try on two separate strands of yarn! I think it would be okay, but it won’t be the strongest join.