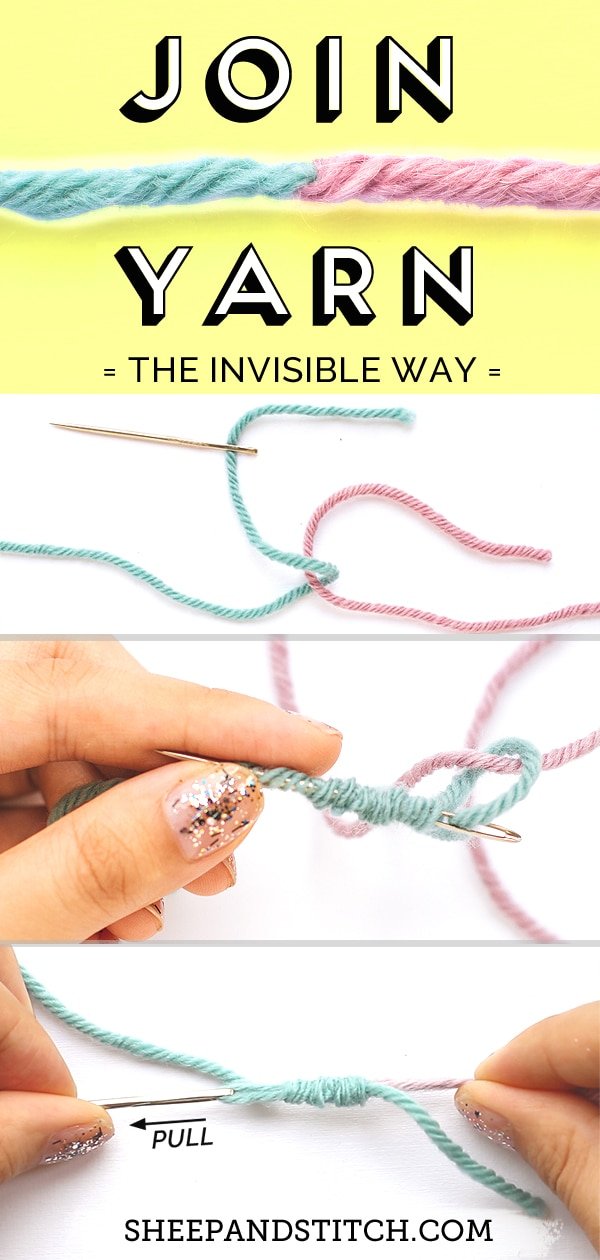
How to Join Yarn Together the Invisible Way (Russian Join)
May contain affiliate links (what's this?)
Today, I’ll show you my favourite way to join yarn in knitting.
This method has served me well over the years. Not a single join has ever come undone (knock wood!)
Why Do You Need to Join Yarn?
Everything that has a beginning has an end. And so it is with yarn.
Balls of yarn inevitably run out, and when that happens you’ll need to join new yarn to your work.
There are many ways to join yarn ends together. Some involve knots while others involve weaving in ends.
However, two joining methods rise up above the rest. They require neither knots nor weaving.
They are the Russian Join and the Spit Splice.
In this post I’ll show you how to work the Russian Join, the most versatile of the two joins.
Joining Yarn with the Russian Join
With the Russian Join, you’re able to join any kind of yarn fibre together.
Animal, cellulose and synthetic fibres all work with the Russian Join, making it a perfect all-purpose join.
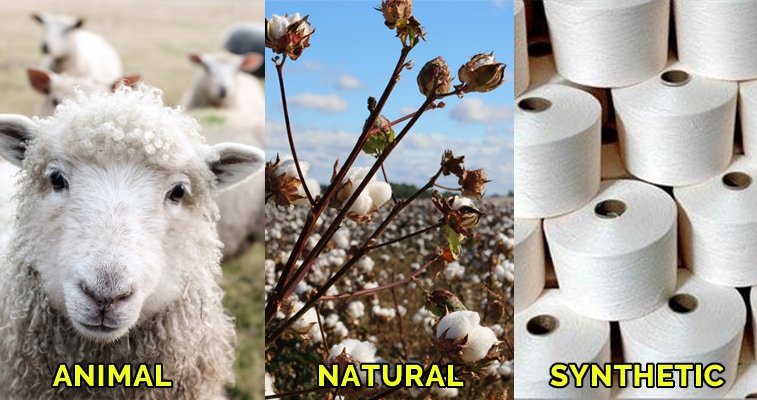
The Russian Join doesn’t discriminate. Yarns of any fibre, weight, colours and creed can be joined together. It’s a truly inclusive yarn join!
What You’ll Need for the Russian Join:
- tapestry needle (the sharper the better)
- scissors
- two strands of yarn to join together
Russian Join Video Tutorial

For a detailed tutorial on how to work the Russian Join from beginning to end, watch the video above.
Step-by-Step Russian Join
This photo guide will walk you through the whole Russian Join process.
1. Interlock the Two Yarns Together
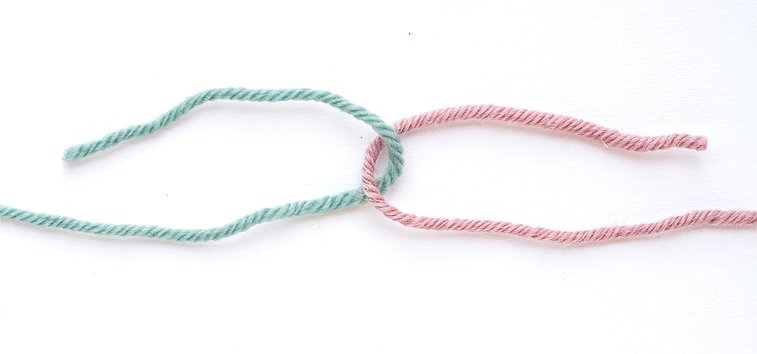
Hook together the two yarns you’d like to join, interlocking them.
2. Thread the Needle
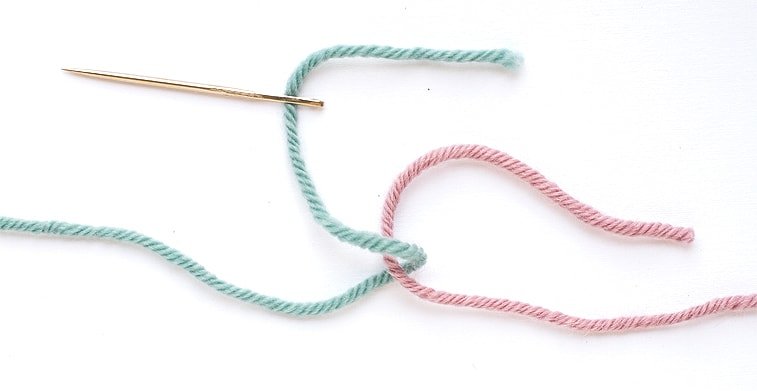
Thread one end of the yarn with the tapestry needle
3. Position the Tapestry Needle
Gently push the tapestry needle into the yarn, starting at the point where the two yarns meet
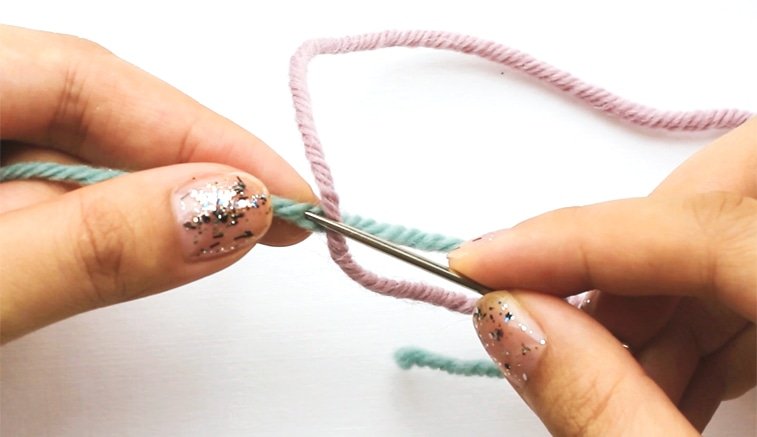
4. Begin Burrowing into the Yarn
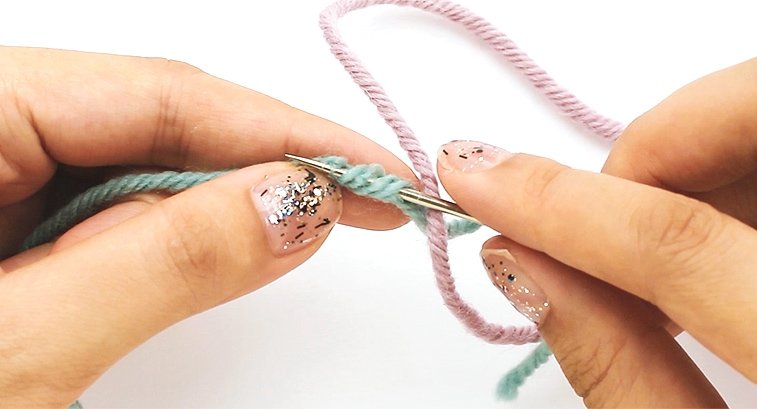
Carefully burrow the tapestry needle into the centre of the yarn. Imagine your needle is a gopher tunnelling into the yarn. Try to get the needle into the middle so that it’s fully embedded inside.
Make sure to catch the yarn. Untwisting the yarn slightly may make the burrowing process easier.
5. Bunch Up the Yarn
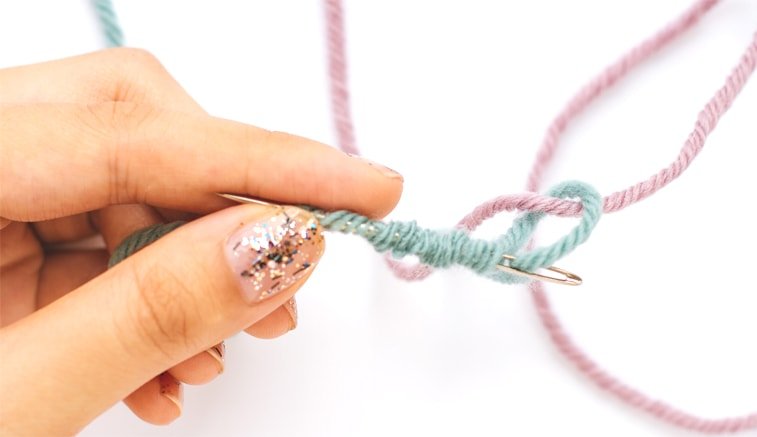
Once you’ve burrowed into about 3 inches of yarn, there will be some bunching on the needle. This is excellent. Bunching is good.
6. Pull the Yarn Through
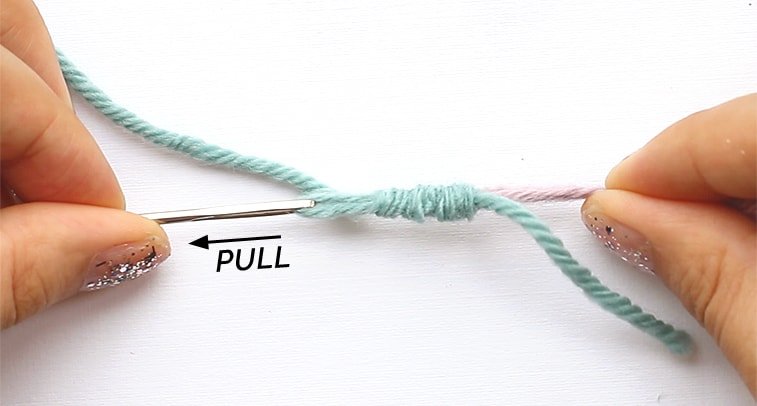
Pull the needle through the yarn. Hold onto the other end of the yarn for stability as you pull.
7. Tug On the Longer Yarn End
Tug on the longer piece of yarn to spread out the bunching evenly across the yarn strand.
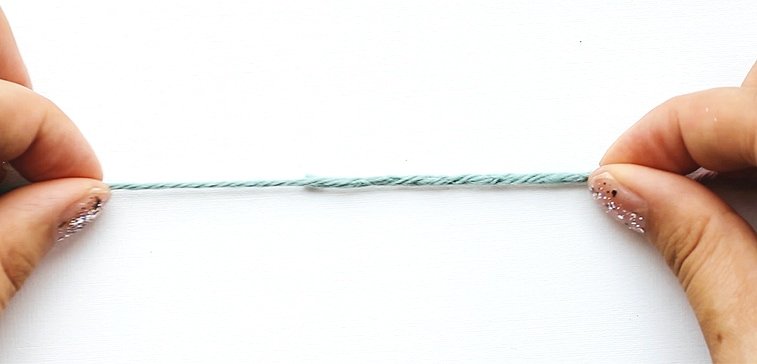
8. Trim and Neaten the Yarn
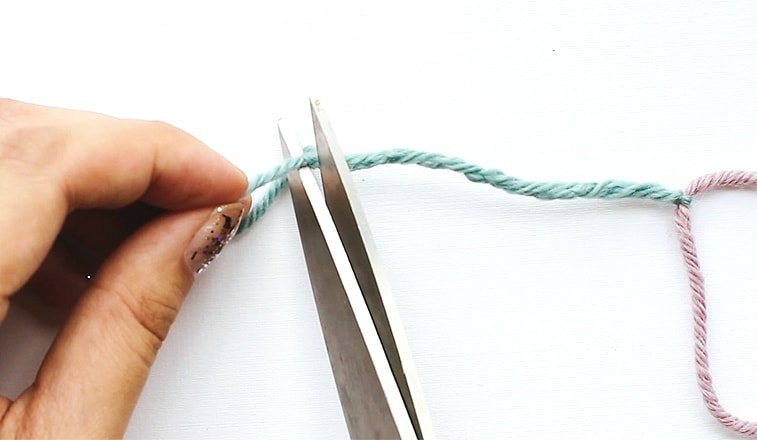
Trim off the short end of the yarn that’s sticking out. Give the yarn a few good tugs to even it out.
9. Repeat on the Other Side
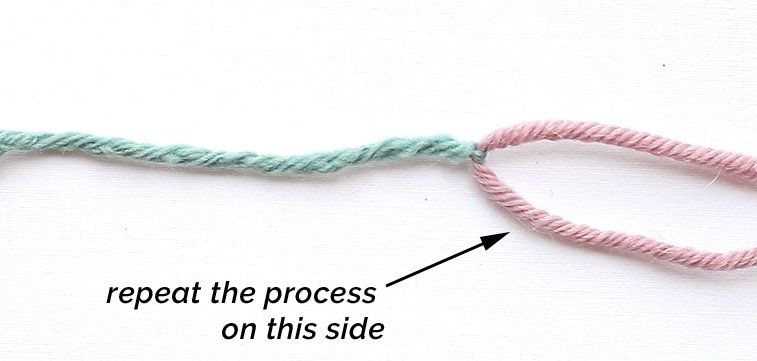
Repeat Steps 2-8 on the other side of the yarn. In this example, begin the same steps with the pink yarn.
Common Mistakes and Fixes with the Russian Join
Sometimes, your join will be baggy and loose. Instead of a tight join, you’ll see a gap or a hole. This is no bueno.
Thankfully, there’s an easy fix for this.
Grab the shorter yarn tail and pull it so that it bunches up to the join. Then, grab the longer yarn and pull it down so that the bunching spreads evenly across it.
Like magic, the bunching has moved up to the join, making it tight and secure. Problem solved!
What are Alternative Yarn Joins?
Just as there’s more than one way to crack an egg, there are many ways to join yarns together.
If you’re looking for the fastest way to join yarn, then using the overlap method as outlined here is the best option.
With the overlap method, you overlap your working yarn with the new yarn and knit into the next few stitches with both yarns held together.
Then, just let go of the old yarn and continue knitting with the new yarn. Later, weave in the ends at the join and you’re good to go. Easy!
The only downside to the overlap method is that with chunkier yarns, the join can sometimes look bit bulky since two strands of yarn are held together.
For the most elegant and versatile join, my choice is still the Russian Join.
Now it’s your turn:
Will you use the Russian Join to join a new ball of yarn?
Or will you choose the split splice or overlap method?
Either way, let me know by leaving a comment below.

Your instructions and photos are excellent for this ! I just joined using it and it was easy as can be! Thank you!
I’m trying to buy the tapestry needle that is sharp like yours. The one I bought wasn’t sharp and it was so difficult. Do you have s link?
Though I do love the idea of the Russian Join how can you make the join land exactly where you want it (ie. changing colors at the end of the row or in the center of a piece where you are making a design?).
Yes! I just tried it and it worked! Knit to where I wanted to change colors, measured and cuta 5″ tail. Backtracked a handful of stitches and then joined making sure to measure before putting the top of the tapestry needle in. Worked out almost flawlessly.
I almost always use the Russian join.
Absolutely LOVE your website! Your videos and instructions are so clear. I tried knitting years ago but didn’t continue b/c there was limited info. and the info that was available was not helpful. There are so many things I LOVE about your website: clear step by step instructions (written & video), how to fix mistakes, providing interesting facts about knitting, explaining yarm AND so much more!!! Looking forward to begin knitting again….THANK YOU💗
I’m wondering if I can use a few drops of glue to hold two strands of yarn together, then continue knitting. I’m a quilter and sometimes use a a few tiny dots of glue for (temporary) glue basting. It holds!
Saw this tutorial on youtube and WOW that yarn looks soooo nice! What is it? Is it possible to order online? Thanks for a great tutorial <3
Hi! I can’t remember exactly but I’m going to guess it’s Debbie Bliss Cashmerino Aran in color Duck Egg and possibly Lilac or Heather. I use these yarns a lot! Here’s a link to them: https://bit.ly/3DwYvS4
This is a awesome tutorial but can you also do it and the spit splice with one-ply yarn?I really like one-ply yarn and I knit with it a lot so I need to know this.
Yes you can use the spit splice with one ply. Just lightly pull apart the one ply and then overlap it with the other yarn.
First time knitting a large baby blanket for my sons first baby girl and panicked about how to add a new ball of wool without it showing or knitting. My goodness the Russian Join is utterly marvellous. So excited as who know where the join is. I don’t.
Thank you so very much from a new knitter and also how clear and concise your instructions and tutorial were. 10/10
Fantastic!! So simple and best solution I’ve seen. Thank you for sharing 🙂
What can I say wow !!!! fantastic !!!! I have been knitting for decades, this is the best form of joining yarn I have ever seen. Congratulations and thank you
Will this work in crocheting? I’m looking for knitting needles so I can learn to knit. I’ve done it once and was clicking along. I noticed I had made a mistake & thought I could undo it like in crocheting…..I was
W R O N G. I haven’t tried it since but I’m not one to let something get the best of me.😉 I’m going to subscribe to your site.
Yes it will work with any kind of yarn craft!
Just found this site. What a gift!
I LOVE this method (the Russian join). I tend to be a bit OCD when it comes to knitting so I didn’t like the thicker bit of yarn you get at the join – probably nobody else would notice, but….. so I it start it at the first or last few stitches of the row so it’s right near the seam. Thank you so much for turning me on to this!!