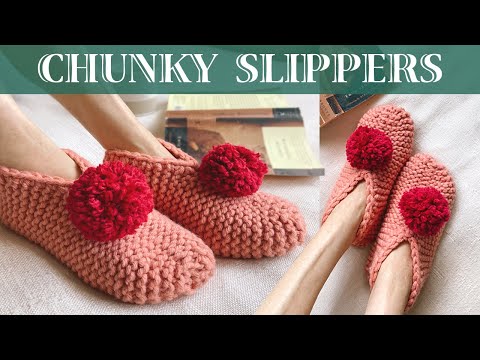
Chunky Slipper Pattern (Free Knitting Pattern and Video)
May contain affiliate links (what's this?)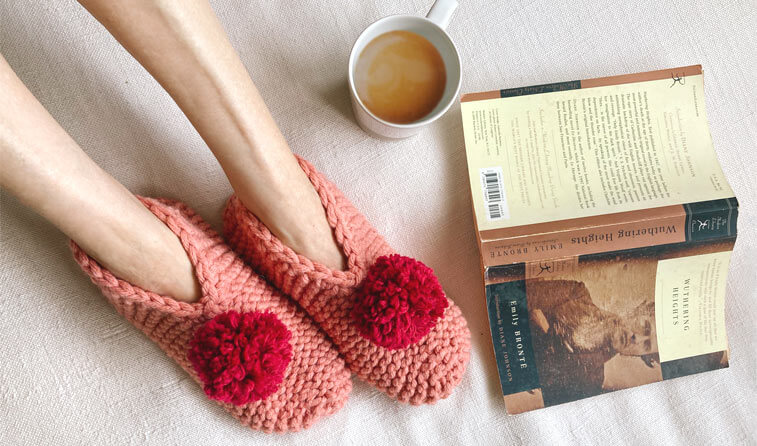
This chunky slipper pattern is a great project for beginners who are comfortable casting on and knitting.
They make great gifts for the holidays, and knit up quickly because they’re made with super chunky yarn.
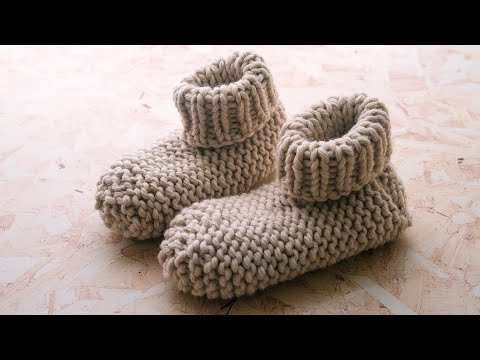
The slippers are knit flat and then seamed together to form a cute slipper. A single crochet is added to the foot opening to create neat edge.
For cozy winter lounging, look no further than these chunky slippers!
Buy the PDF Slipper Pattern
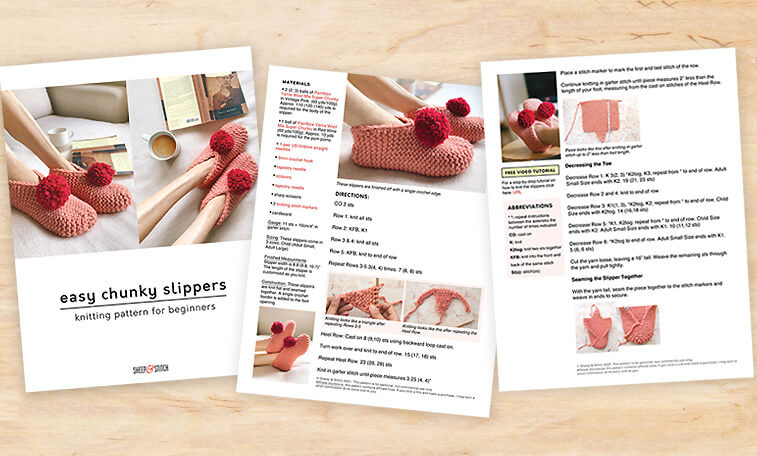

For the price of a coffee you can support Sheep & Stitch by purchasing a PDF file of this pattern. This four page PDF file is beautifully laid out and ready to be printed!
To purchase this pattern, click the button above or visit the pattern shop. Upon purchase, the pattern file will be delivered to you by email. Thank you for your support!
Slipper Sizing and Finished Measurements
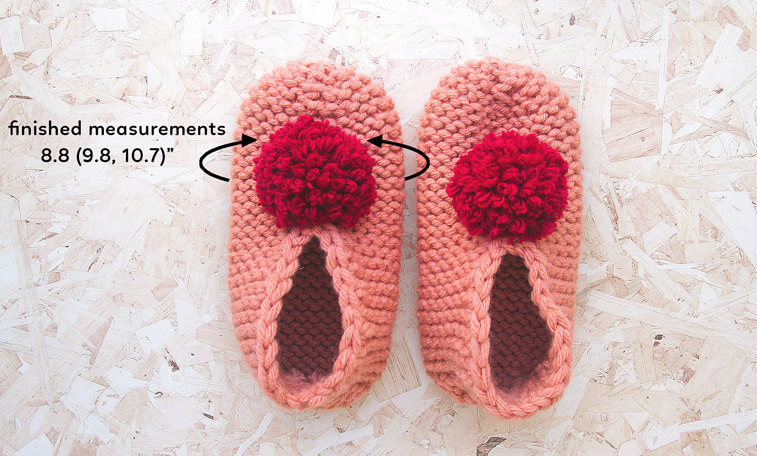
This pattern includes three sizes: Child, Adult Small and Adult Large
Finished Measurements: the width of the slipper is 8.8 (9.8, 10.7)”. The length is variable because the slipper is customised for individual foot sizes.
The Adult Small fits an average women’s foot while the Adult Large fits an average man’s foot. The Child Size is sized to fit a four to eight-year-old.
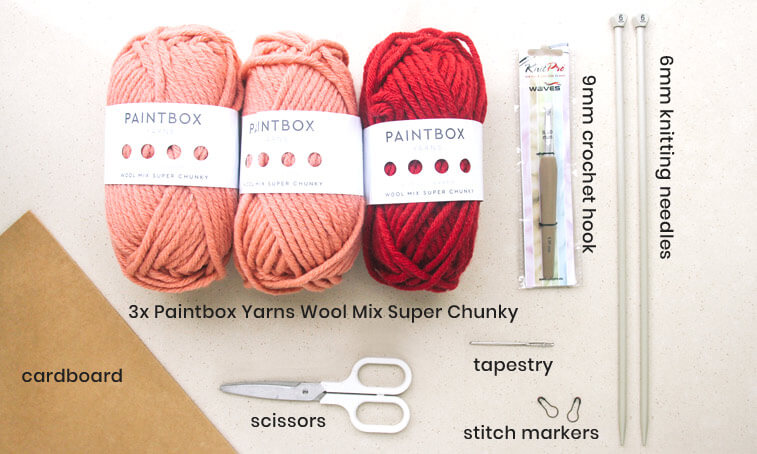
Material & Notes
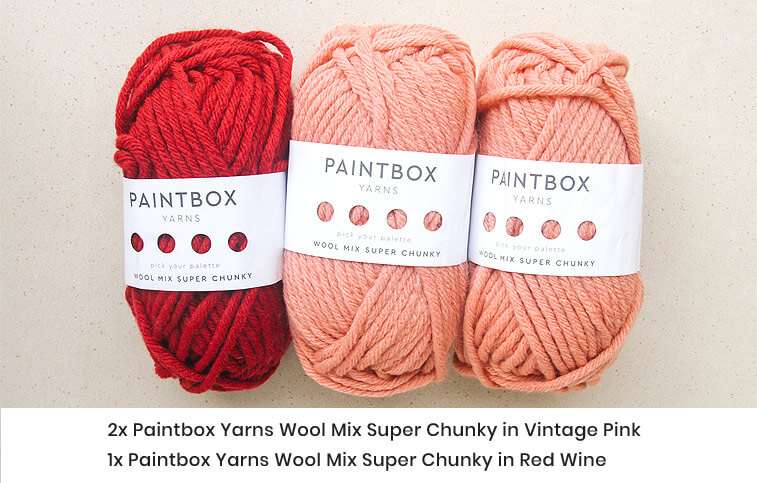
Yarns Used:
- 2 (2, 3) balls of Paintbox Yarns Wool Mix Super Chunky (60 yds/100g; 50% wool/50% acrylic) in Vintage Pink
- 1 ball of Paintbox Yarns Wool Mix Super Chunky (60 yds/100g; 50% wool/50% acrylic) in Red Wine
The body of the slipper requires 110 yds for Child Size, 120 yds for Adult Small and 140 yds for Adult Large. Approximately 10 yds is required for the pom poms.
Gauge: 11 sts = 4 inches/10cm in garter stitch
Other Recommended Yarns:
- King Cole Big Value Super Chunky (100% acrylic with lots of fun colors)
- Lion Brand Wool Ease Thick & Quick (an acrylic and wool blend with generous yardage)
- MillaMia Naturally Soft Super Chunky (a super luxe 100% merino yarn – one my faves!)
Recommended Needles:
Notions:
- tapestry needle (Amazon)
- 2 locking stitch markers (safety pins work too) (Amazon)
- scissors
- cardboard
- suede leather for sole (optional)
Construction: These slippers are knit flat and seamed together. A single crochet is added to the foot opening to create a need edge.
Chunky Slipper Video Tutorial:
For a step-by-step tutorial on how to knit this chunky slipper, watch the video tutorial below. It covers every aspect of the pattern, from cast on to seaming and making a pom pom.
Watch this video on YouTube to get access to the video chapters and timestamps. Just click the video player above.
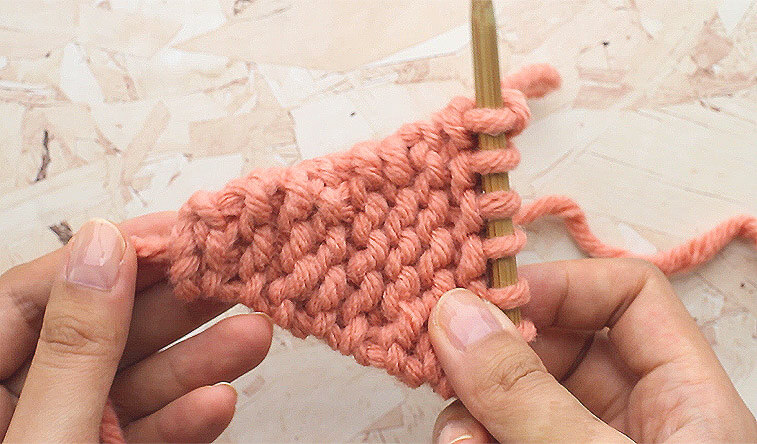
Knitting Instructions:
CO 2 sts
Row 1: knit all sts
Row 2: KFB, K1
Row 3 and 4: knit all sts
Row 5: KFB, knit to end of row
Repeat Rows 3-5 3(4, 4) times 7 (8, 8) sts
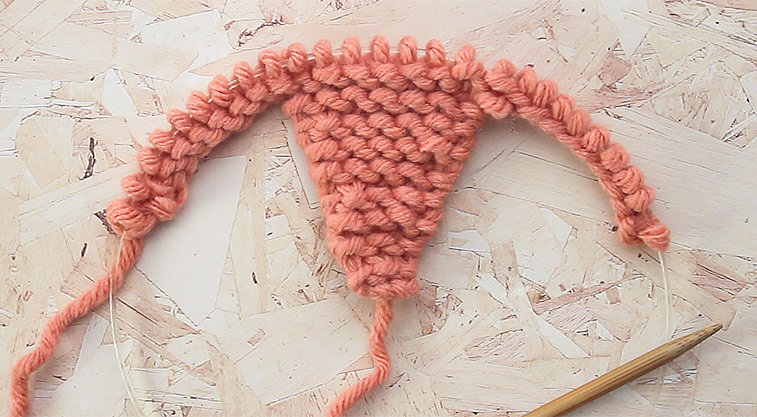
Heel Row: cast on 8 (9,10) sts with backward loop cast on. Turn work over and knit to end of row. 15 (17, 18) sts
Repeat Heel Row. 23 (26, 28) sts
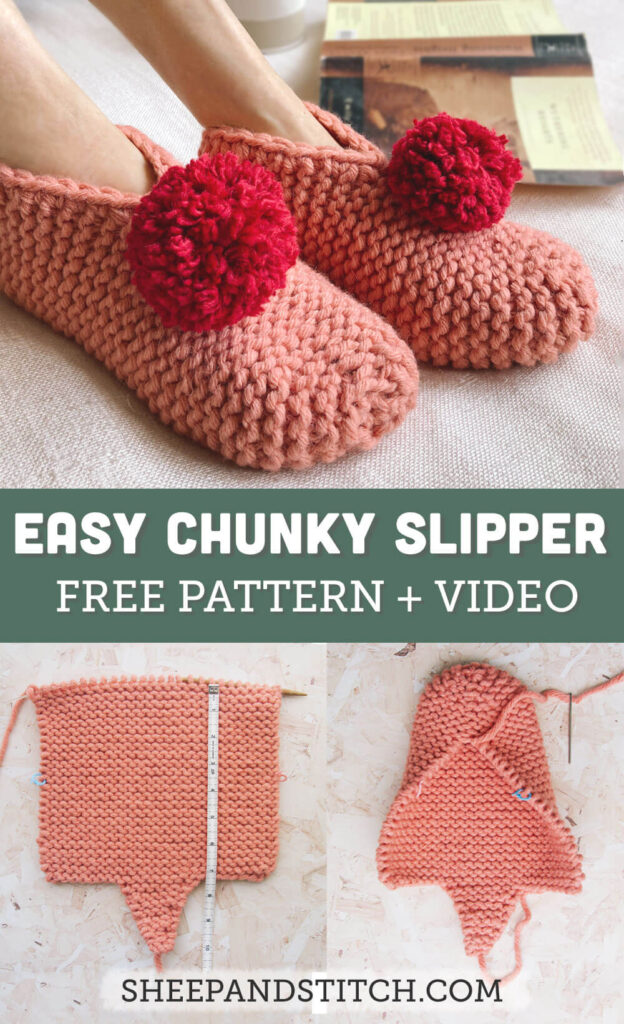
Knit in garter stitch until piece measures 3.25 (4, 4)”
Place a stitch marker on the first and last stitch of the row.
Continue knitting in garter stitch until piece measures 2” less than the length of your foot, measuring from the cast on stitches of the Heel Row.
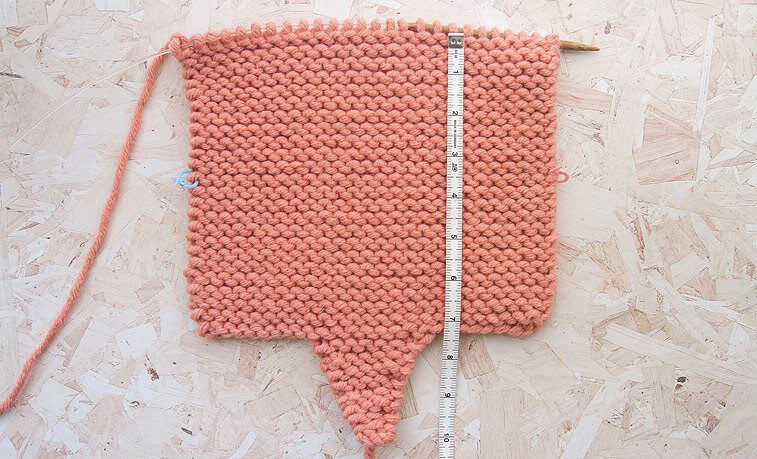
Decreasing the Toe
Decrease Row 1: K 3(2, 3) *K2tog, K3; repeat from * to end of row. Adult Small Size ends with K2. 19 (21, 23 sts)
Decrease Row 2 and 4: knit to end of row
Decrease Row 3: K1(1, 3), *K2tog, K2; repeat from * to end of row. Child Size ends with K2tog. 14 (16,18 sts)
Decrease Row 5: *K1, K2tog; repeat from * to end of row. Child Size ends with K2. Adult Small Size ends with K1. 10 (11,12 sts)
Decrease Row 6: *K2tog to end of row. Adult Small Size ends with K1. 5 (6, 6 sts)
Cut the yarn loose, leaving a 16” tail. Weave the remaining sts through the yarn and pull tightly.
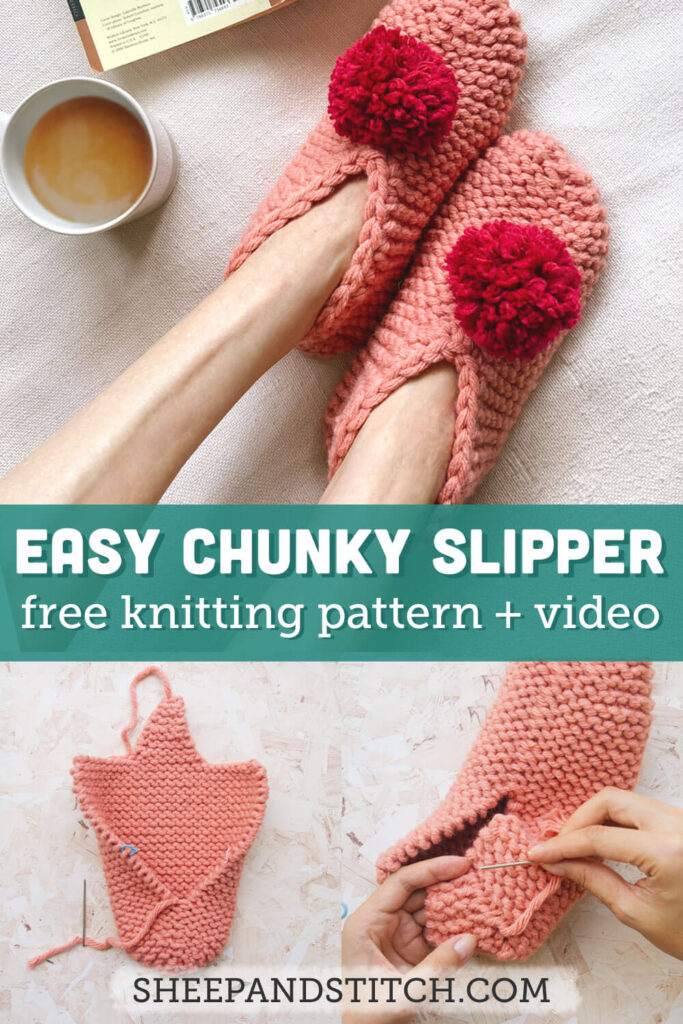
Seaming the Slipper Together
With the yarn tail, seam the piece together to the stitch markers and weave in ends to secure.
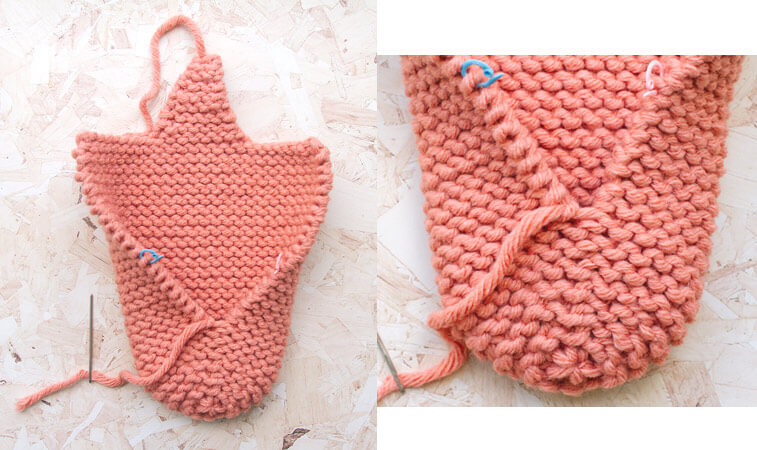
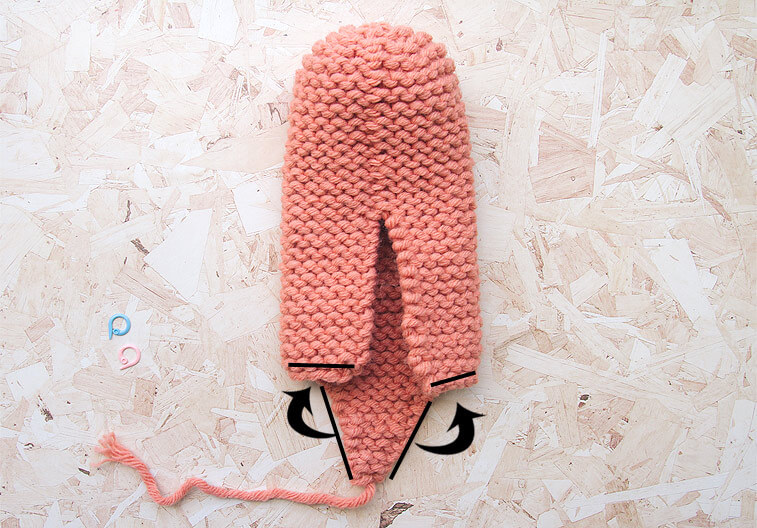
Seam the edges of the heel triangle to each side of the cast on stitches to create the slipper heel.
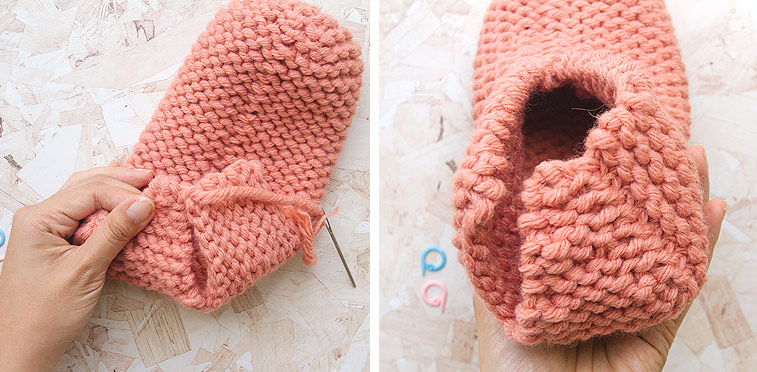
At the foot opening, use an 8mm crochet hook to create a single crochet edge. The video tutorial above demonstrates how to do this. This video tutorial also does a good job demonstrating the single crochet edge.
Pom Pom
Create a pom pom using a complimentary colour and attach to the slippers.
Create a second slipper using the same instructions.
Abbreviations:
CO: cast on
K: knit
K2tog: knit two stitches together
KFB: knit into the front and back of the same stitch
St(s): stitch(es)
* *: knit instructions between the asterisks the number of times indicated
Other Slipper Ideas
1. Adding a Leather Sole
To create an anti-slip slipper, sew a leather or microfibre patch to the bottom of the slipper.
I’ve used genuine suede leather to create my sole. I outline the whole process in the video below:

Hot tip: if you buy a piece of leather, make sure you have a leather hole punch and/or a hammer to create the holes around the leather sole. I didn’t have a hammer so I ended up cutting out tiny holes manually with my scissors!
2. Adding Ribbing to the Foot Opening
To turn the slipper into a bootie, add a folded rib to the foot opening.
Instead of creating a single crochet edge, pick up 24 (30, 30) stitches at the foot opening and join in the round. Knit in 1×1 rib for 3 (4, 4) inches. Then bind off loosely in pattern.
Watch how to do this in the video above.
3. Colour Blocking the Slipper
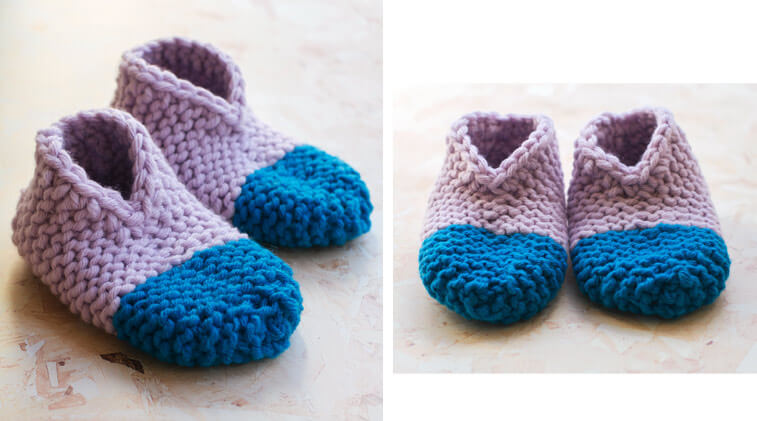
Colour blocking is an easy way to add visual interest to the slippers.
When it suits you, add a new colour at the beginning of the row and continue in the pattern with the new colour.
Weave in the ends when the slipper is complete.
Seam the slipper with the new colour, changing to the old colour when you reach it.
Support Sheep & Stitch!
While the pattern instructions and video tutorial are free and available above, for the price of a coffee you can support Sheep & Stitch by purchasing a PDF file of this pattern. Grab the pattern at the pattern shop or click the button above.
You are a very good teacher. I have learn a lot from you. some of the instructors I had a hard time understanding them. The only thing I would like if you could slow your voice a little. I am buying your slipper instructions. I too think that they will make a good Christmas good.
Your videos are great and the dynamic is quite easy to follow. Thanks for all the work.
I am thinking of making this slipper and I was wondering if the yarn size is correct there. You linked a 10mm yarn for a 6mm needle.
Cheers!
Yes! It’s correct. We want a dense fabric so that’s why a smaller needle size is used.
Cool! Thanks
Hi there! Newish knitter here. I knitted multiple pairs for gifts–very cute pattern! The yarn (I don’t do wool) I used (see link below) was very stretchy and loose. One pair was way too big. I’ll confirm the size she needs but I think my yarn choice contributed. Wondering, if I used smaller needles if that would help make it denser or if I should give up and buy different yarn. https://ohtheyarnage.com/collections/yarn/products/bud?variant=29377244561478
Any advice would be appreciated.
Noelle
I love your tutorials, pleasant fun voice and all…It was my first time on the crochet, turned out pretty well…Wish I could find a crochet tutorial for lefthanders though…Keep up the good work…:)
I purchased the pattern and am really enjoying it! I do have 1 question – are you using 2 balls of yarn per slipper, or 2 balls total? I want to make sure I have purchased enough yarn.
I’m using two balls of yarn in total for two slippers (one pair). Hope that helps!
Hi Davina! I’m a beginner and wondering if these are washable? Will they keep their shape?
Just found your channel and can’t wait to get started! Thanks!
If you use a Superwash wool yarn, 100% acrylic, cotton or bamboo then the slippers can be washed in the washing machine. However, the yarn I’ve used isn’t a Superwash wool, so I would hand wash the slippers and lay them out to dry.
What other yarn besides chunky can you use?
I just purchased your pattern on my iPhone and it is not allowing me to share or save the PDF document. Can you please forward the pattern to me! Thank you!
Hey. Do we have to use chunky yarn? Or can we use another type of yarn?
Thank you so much for this!
I made my daughter a hat from one of your other video tutorials so tried this one.
The video is great, the pattern is understandable and I was able to make them first try even though I am a total beginner!
My hubby LOVES them and now wants me to knit him more things because they are so comfy and warm! ❤️❤️❤️
So happy to hear that! These slippers are also a big hit with my nieces and nephew. They love wearing them around the house!
This is the best slipper pattern I have ever seen. I always had a hard time joining seams together and your smiley face and frown explains it perfectly. Thank you so much for sharing with us. I will be 80 years old on August 1st and I live in New Brunswick Canada.
I love this pattern and I purchased it today. However, I was not able to print it. Or even save in pdf to my phone.
I did not know that the link would expire. Could you please send it to me again? Thank you
Hi Alla, apologies for the late reply. If you’re still having problems please email me at davina[at]sheepandstitch[dot]com and I’ll send you the PDF file.
I purchased this pattern for slippers and am not able to download
Please resend
I purchased the slipper pattern and it’s a hit for all my friends and family. I use Lion Brand Wool Ease Thick & Quick because of all the color choices. Most of the yarn is 20% wool, soft and warm. The slipper pattern turns out so nice and neat looking. You can’t tell where the seam is. Great pattern!! Great video!
Hello! I’d love to use this pattern for a baby (12 mo old). Do you have recommendations for how to alter the pattern accordingly? Thank you in advance!
If the shoes size is a 8, should I do adult small or large?
I just finished making the chunky slippers using your pattern, and I absolutely love them! The video tutorial was so helpful, especially for visual learners like me. Thank you for sharing this delightful pattern!
Hello,
If I wanted to knit just a sole and sew it onto the slipper, are there instructions on how to do this? Thanks.
Donna