How to Tie a Slip Knot for Knitting
May contain affiliate links (what's this?)
Before you can knit or crochet, you’ll need to make a slip knot. It’s the starting point for everything to come. Learn how to tie a slipknot, and you’ve got step one covered.
Every knitting and crochet project begins with the slip knot. This little knot is like an anchor for your cast on or crochet chain. It can even be used to start a bracelet!
In knitting, the slip knot counts as the first stitch of the cast on. That means that by tying a slipknot, you’ve cast on your first stitch!
So, how do you make a slip knot? Thankfully, it’s easy-peasy. All you’ll need is yarn or string and your own two hands.
Watch the step-by-step video or follow along in the detailed photo tutorial below. You’ll be tying slip knots in no time!
Slip Knot Video Tutorial
If you’re a video learner, then this one’s perfect for you! This video tutorial shows you, step-by-step, how to tie a slip knot.

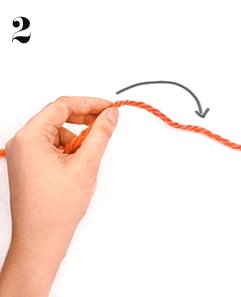
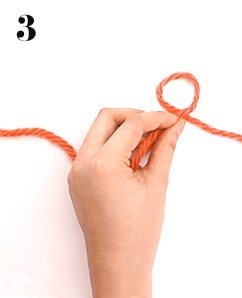
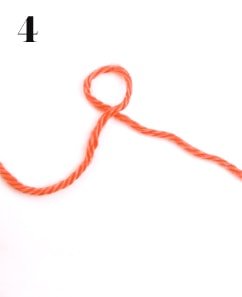
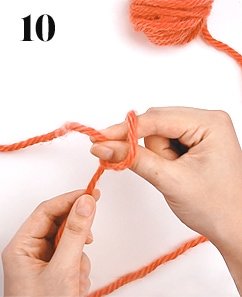
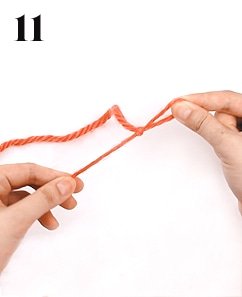
Slip Knot Photo Tutorial
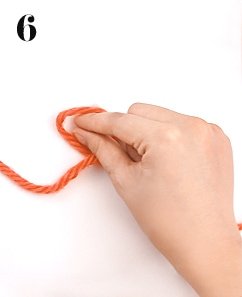
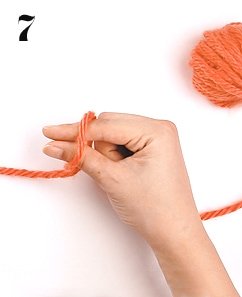
Not everyone loves video, and that’s okay! I try to break down the steps for tying a slip knot in this detailed photo guide. If you get confused on a step, refer back to the video above. Chances are, it’ll be better explained there. Okay, here we go!

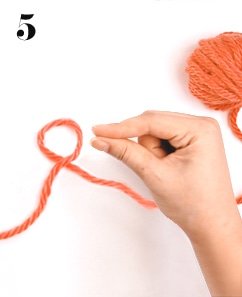
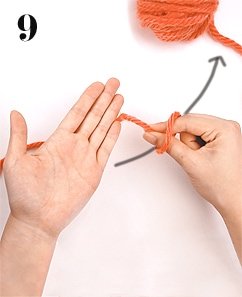
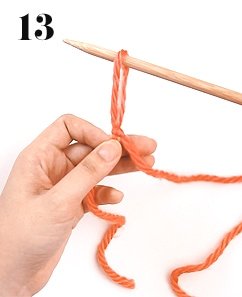
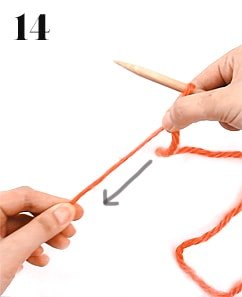
The yarn used in this tutorial is Lion Brand’s Hometown USA in color Fort Lauderdale Coral. The needles used are 8mm bamboo needles.
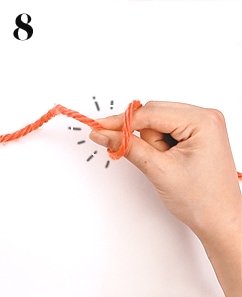
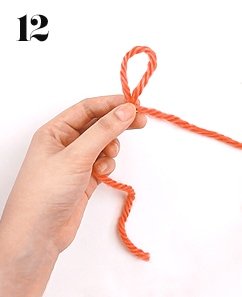
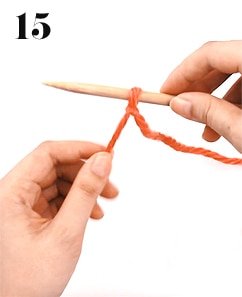
You’ve Tied a Slip Knot!
If all goes accordingly, you’ll have yourself a slipknot! Place the knot on a needle or crochet hook to start casting on or chain stitching.
You’ve got a slip knot now. Hurrah! Want to learn how to cast on? Check out the Long tail cast on (thumb method). This is the cast on that I like to teach beginners. It’s fairly straight-forward to do, and it produces a nice, stretchy all-purpose cast on.
Are You New to Knitting?

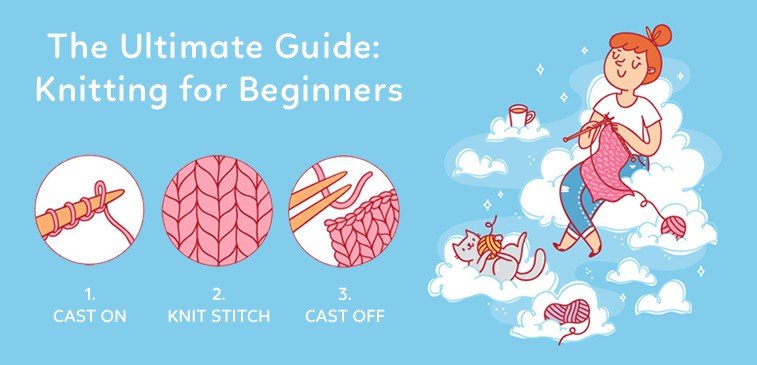
I’ve made a detailed guide for new knitters! It covers the very basics: cast on, knit stitch and cast off. These three techniques are the backbone of knitting. Master them, and you’re officially a knitter!