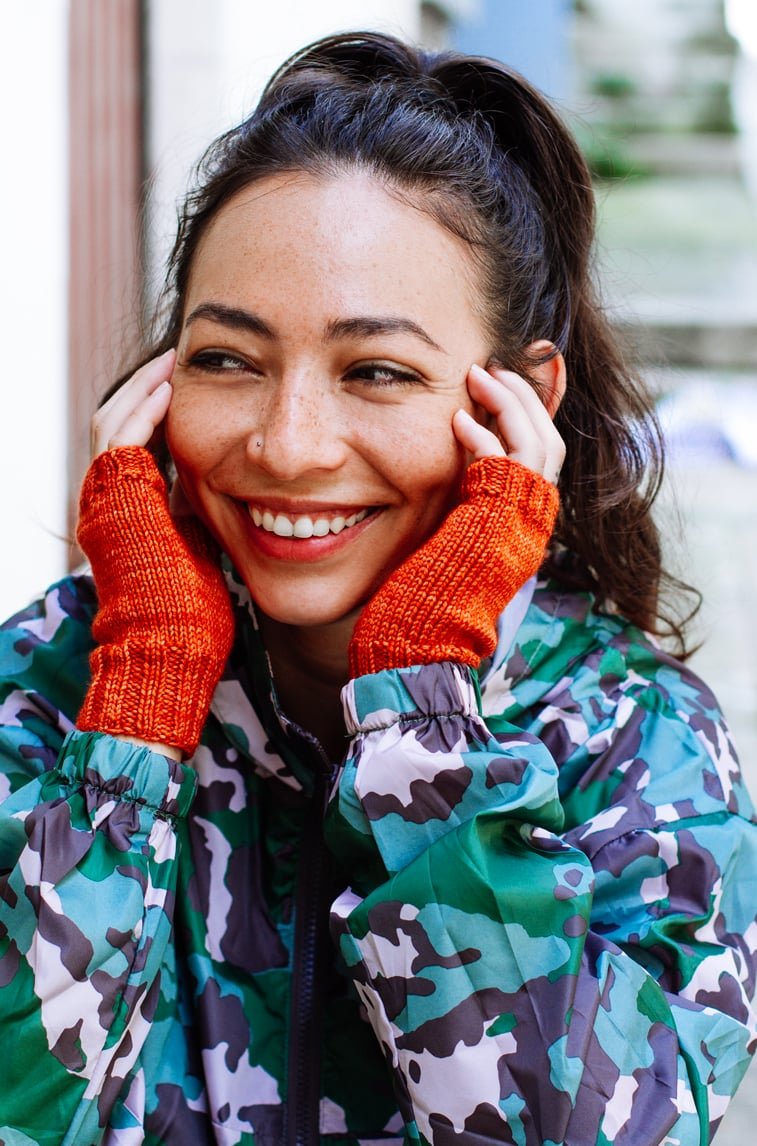
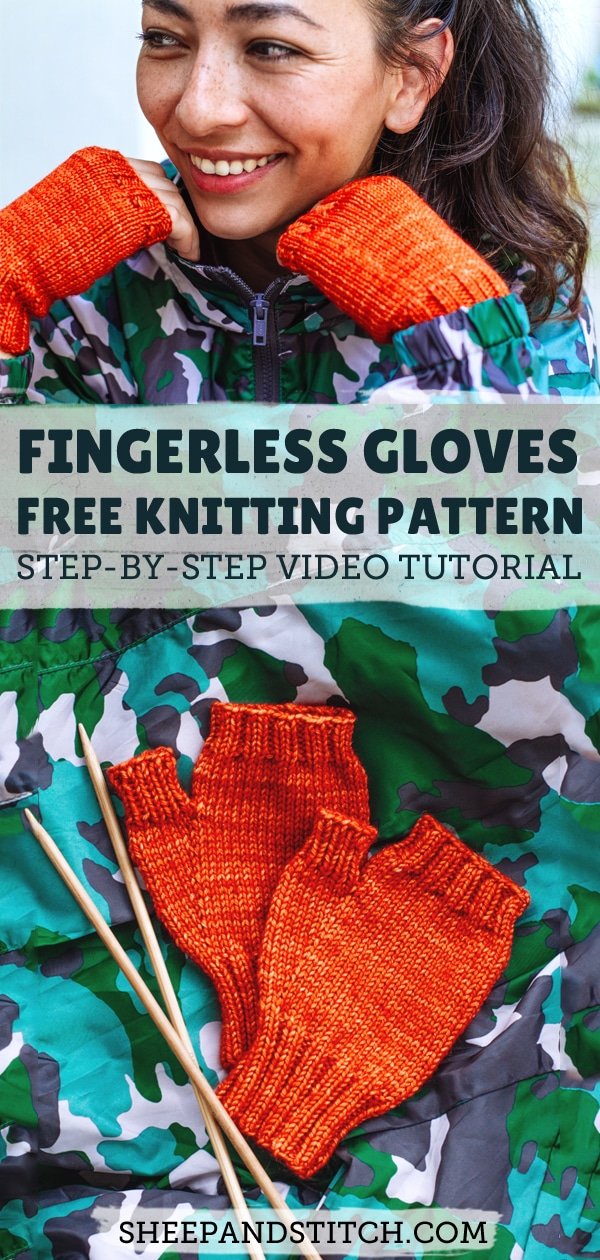
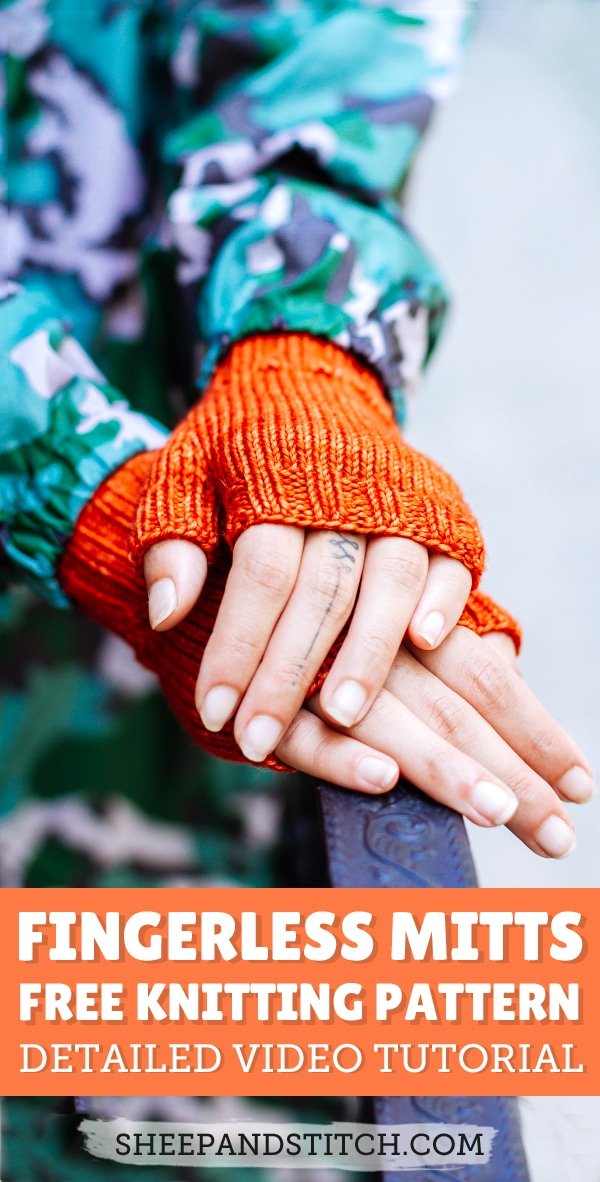
Fingerless Gloves Knitting Pattern (Step-by-Step Tutorial)
May contain affiliate links (what's this?)This fingerless gloves knitting pattern tutorial will walk you step-by-step through the whole knitting process.
A pair of fingerless gloves is a great project for adventurous knitters who are comfortable knitting with double pointed needles.
In fact, learning how to knit fingerless gloves is one of the best ways to improve your double pointed needle knitting skills!
In this post, you’ll learn how to knit these mittens from beginning to end. We’ll cover materials and the actual pattern instructions. For a detailed walkthrough of the knitting pattern, watch the tutorial video below.
Buy the PDF Pattern
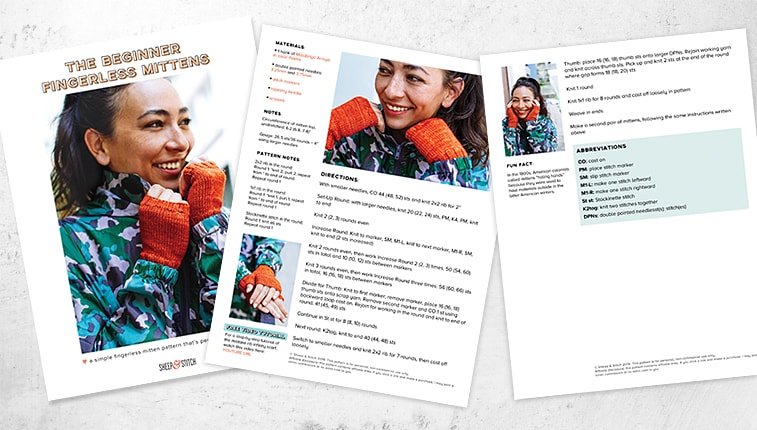

For the price of a coffee, you can support Sheep & Stitch by purchasing a PDF file of this pattern. This 3-page PDF file is beautifully laid out and ready to be printed and marked up by you!
To purchase this pattern, click the button above or visit the pattern shop. Upon purchase, the pattern PDF file will be delivered to you by email. Thank you for your support!
Fingerless Gloves Materials & Notes
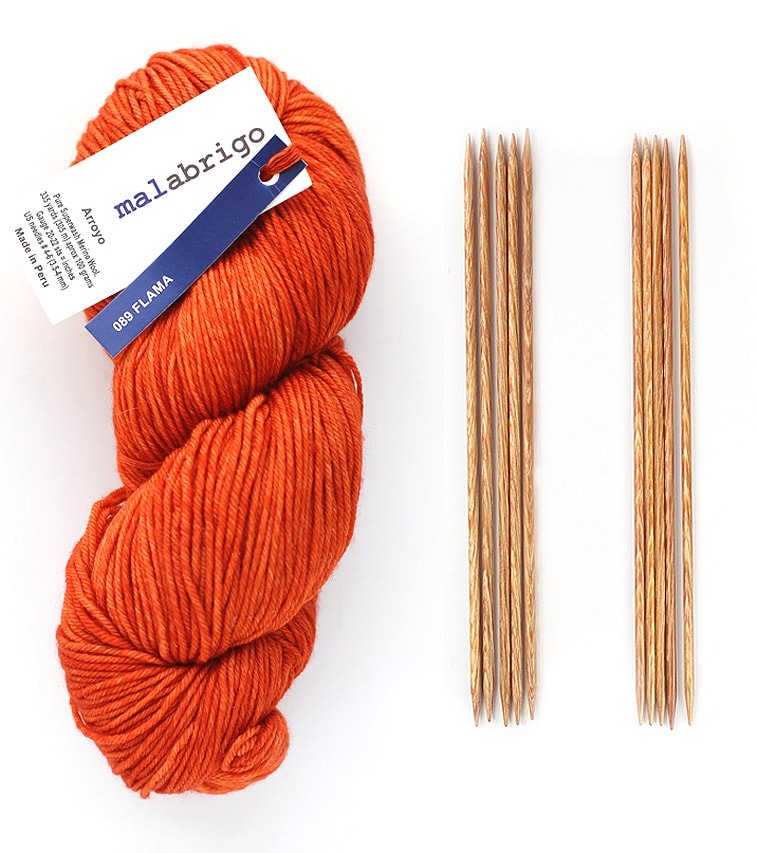
Yarn Used: 1 hank of Malabrigo Arroyo in color Flama (100% merino wool; 335 yds/100g)
Other Similar Yarns:
- Madelinetosh Pashmina (super luxurious hand-dyed yarn)
- Viking of Norway Sportsragg (a reliable budget wool yarn)
- Cascade 220 Superwash Sport (100% hard-wearing merino wool – a cult favourite)
Recommended Needles: 1 pair of 3.25mm DPNs and 1 pair of 3.75mm DPNs. Use a needle size that gives you the gauge listed below
Gauge: 26.5 sts / 36 rounds = 4″/10cm using larger needles
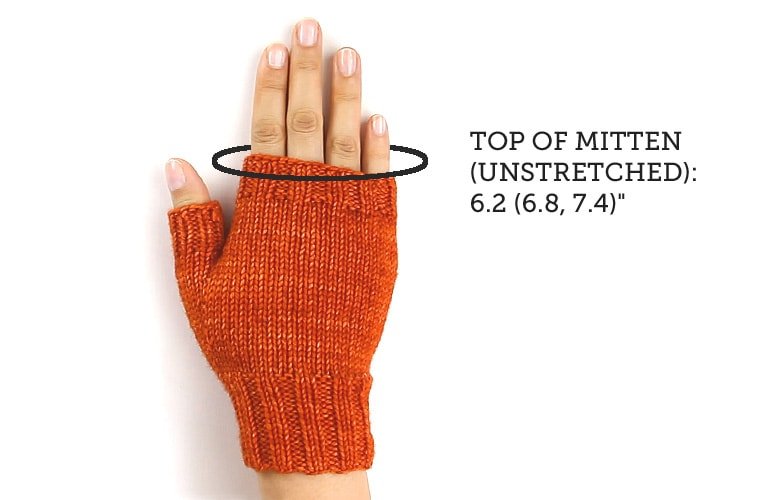
Finished Measurements: circumference of mitten top (un-stretched): 6.2 (6.8, 7.4)”
Notions:
- tapestry needle (LoveKnitting) (Amazon)
- scissors (LoveKnitting) (Amazon)
- stitch markers (LoveKnitting) (Amazon)
Pattern Notes:
2×2 rib in the round:
Round 1: *knit 2, purl 2; repeat from * to end of round
Repeat round 1
1×1 rib in the round:
Round 1: *knit 1, purl 1; repeat from * to end of round
Repeat round 1
Stockinette stitch in the round:
Round 1: knit all sts
Repeat round 1
Fingerless Gloves Knitting Pattern Video Tutorial
This detailed video tutorial walks you through the whole process of knitting a pair of fingerless gloves.

Fingerless Gloves Pattern Instructions
With smaller needles, CO 44 (48, 52) sts and knit 2×2 rib for 2”
Set-Up Round: with larger needles, knit 20 (22, 24) sts, PM, K4, PM, knit to end
Knit 2 (2, 3) rounds even
Increase Round: Knit to marker, SM, M1-L, knit to next marker, M1-R, SM, knit to end (2 sts increased)
Knit 2 rounds even, then work Increase Round 2 (2, 3) times. 50 (54, 60) sts in total and 10 (10, 12) sts between markers
Knit 3 rounds even, then work Increase Round three times. 56 (60, 66) sts in total. 16 (16, 18) sts between markers
Divide for Thumb:
Knit to first marker, remove marker, place 16 (16, 18) thumb sts onto scrap yarn. Remove second marker and CO 1 st using backward loop cast on. Rejoin for working in the round and knit to end of round. 41 (45, 49) sts
Continue in St st for 8 (8, 10) rounds
Next round: K2tog, knit to end 40 (44, 48) sts
Switch to smaller needles and knit 2×2 rib for 7 rounds, then cast off loosely
Thumb: place 16 (16, 18) thumb sts onto larger DPNs. Rejoin working yarn and knit across thumb sts. Pick up and knit 2 sts at the end of the round where gap forms 18 (18, 20) sts
Knit 1 round
Knit 1×1 rib for 8 rounds and cast off loosely in pattern
Weave in ends
Make a second pair of mittens, following the same instructions written above.
If you’re on Ravelry (aka. Facebook for knitters), add your project to the Fingerless Gloves pattern page!
Abbreviations:
* *: repeat instructions between asterisks the number of times indicated
CO: cast on
DPNs: double pointed needles
K2tog: knit two stitches together
M1-L: make one stitch leftward
M1-R: make one stitch rightward
PM: place stitch marker
SM: slip stitch marker
St st: Stockinette stitch
st(s): stitch(es)
Support Sheep & Stitch!
While the pattern instructions and video tutorial are free and available above, for the price of a coffee, you can support Sheep & Stitch by purchasing a PDF file of this pattern. This 3-page PDF file is beautifully laid out and ready to be printed and marked up by you!
To purchase this pattern, click the button above or visit the pattern shop. Upon purchase, the pattern PDF file will be delivered to you by email. Thank you for your support!

Hello Davina, thank you so much for the great instructional video! I’m new to knitting and I’ve learned most of what I know from you, thank you! Question, I’m going to give these fingerless gloves a try and I understand they will require one yank of the Malabringo Arroyo. I’d like to knit a matching, simple scarf (probably just a garter stitch). Can you recommend the number of yanks I’ll need to do that, and what width would you suggest for the scarf? Thanks so very much!!!
Hey Donna! You might consider the Hogwarts Scarf (https://sheepandstitch.com/pattern/harry-potter-scarf-knitting-pattern/). It uses a light DK weight and features a 1×1 rib pattern that’s just a two-row repeat. If you follow the pattern, just alternate between Row 1 and Row 2 and ignore the instructions about changing colors. The yardage really depends on how wide and long you choose to knit your scarf. Personally, I would want at least 350 yards of sport weight.
Hi there 🙂
I was wondering how to change the pattern for one size smaller. A friend of mine wants me to make a pair for her 12-yr-old daughter.
Thank you in advance!
I’m pretty new to knitting but your videos have helped me a lot. Question on this pattern… are the increases both inside the stitch markers? Or only the first one? The pattern says “Increase Round: Knit to marker, SM, M1-L, knit to next marker, M1-R, SM, knit to end (2 sts increased).” So, do I knit the M1R before or after I slip the second stitch marker?
Hi Davina! For these fingerless gloves, what yarn weight did you use? Fine, light, medium? Thanks!
Hi there, the pattern calls for a sport weight. The gauge is 26.5 sts / 36 rounds = 4″/10cm using 3.75mm needles.
You want to knit ALL increases INSIDE of the markers. See how the pattern says SM (slip marker), M1-L and then M1-R, SM… you slip the marker, then stitch the increase, knit, then stitch the increase, then slip marker. So all increases are INSIDE the markers. If you watch her video, she shows this process. Watching the video is the best when you are a beginner. I hav learned a lot from her through her videos.
Hello, thank you so much for your great pattern and video! I’ve started on my first mitten but am wondering if there’s an adjustment I can make to add finger loops. This is my first pair of mittens, so I’m not super knowledgeable about adjusting patterns. Please let me know if you have any patterns you could point me to or any tips 🙂 thanks again!
Hey Davina! Thank you so much for your tutorials for knitting! They make thing very easy. But just wanted to ask for the cast on I have larger needles so I should cast in 20 or 44 (I’m doing size small btw) thanks!
I think knitting with larger needles won’t really matter unless your using thicker yarn. So I would say that cast on the number of stitches that the website or the video says.
Hello!
I saw a video for this pattern and even with the written instructions a part of them slightly confuses me:
“Knit 2 rounds even, then work Increase Round 2 (2, 3) times. 50 (54, 60) sts in total and 10 (10, 12) sts between markers
Knit 3 rounds even, then work Increase Round three times. 56 (60, 66) sts in total. 16 (16, 18) sts between markers”
Should I knit two/three even rounds first and then the Increase rounds or should I alter between even rounds and increase rounds so after one even round the increase one follows?
Thank you!
Hey Davina, I want to knit a pair of fingerless gloves with DK weight yarn, but that pattern type is pretty much impossible to find online! Can you send me one of your favorite DK fingerless gloves knitting pattern videos?
Why would you not use a circular needle ?
You can use a circular needle, but you’ll need a very small one – a 12inch or smaller.
I wish you would have took a monent to show how the needles should lay on each other , so the stitches don’t twist
Hi Davina,
Can I make these using the magic loop?
Thank you!
Yes absolutely!
Hi Davina,
In general, what length of DPN’s do you find most useful? Am just trying to avoid having to buy *all* lengths in *all* sizes, lol.
Also, any chance of more patterns soon? I’m quickly knitting my way through yours … Your tutorials “speak to me”. Yeah yeah, sure sure, there are others out there …. But they’re not YOU! 🙂
Can this pattern be adjusted to fit kids?
Good evening. If I use chunky yarn what size needle do I need to use to make the gauge match?