
DIY Gnome Ornament (quick crafty holiday gift!)
May contain affiliate links (what's this?) These gnomes are adorable and very easy to make! They look great sitting together on a mantlepiece or hung on a Christmas tree.
While the gnome doesn’t involve any knitting, it’s a great project for stashbusting leftover yarn!
Grab some beige and contrasting yarn, a glue gun and a wooden bead. The rest of the materials are regular household objects you probably already have.
While you can make a full gnome, the hat itself is very cute and can function as its own ornament. Just glue balled-up tissue or a cotton ball inside the hat to fill it out.
A red hat with a beige beard is a classic colour combination, but use your imagination and make your own unique gnome!
Gnome Ornament Video Tutorial

The video tutorial above walks you through how to make the gnome step-by-step.
Project Time: 1-1.5 hours
Materials:
- paper toilet roll
- beige, white or grey yarn (for the beard)
- contrasting yarn (for the hat)
- book or cardboard
- wooden bead
- glue gun
- yarn, string or twine for hanging the ornament
- tapestry needle
- scissors
Gnome Ornament Instructions:
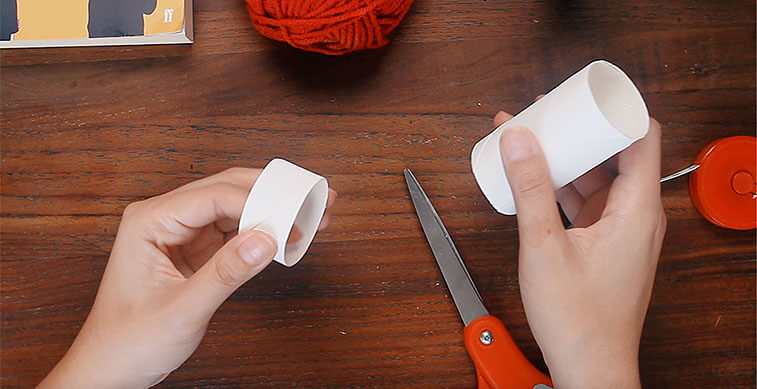
1. Cut a 1” piece from a toilet paper roll and set aside.
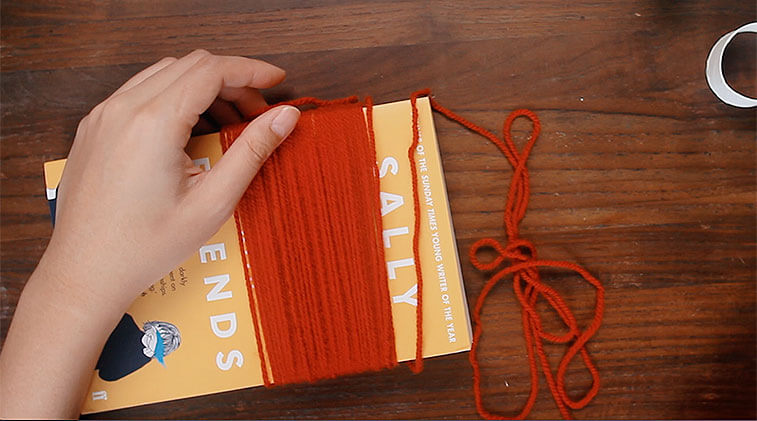
2. Wrap the contrasting yarn around a book or a 6-7” cardboard piece. Wrap 45 times if using worsted weight yarn. Wrap more times if using thinner yarn or less if using thicker yarn. Cut the yarn loose at one end. Now you have 45 strands of yarn.
3. Wrap a yarn strand around the 1” paper roll. Fold they yarn in half and insert into the paper roll. Then pull the yarn ends through the loop on the other side to attach to the paper roll. Repeat with all the yarn strands so that the entire paper roll is covered with looped yarn strands.
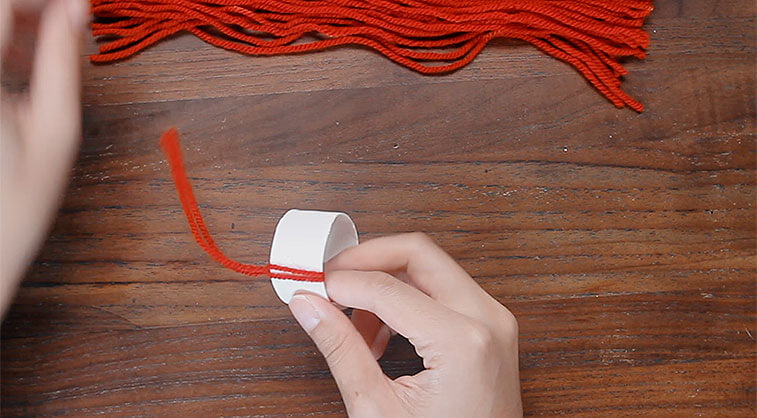
4. Push all the yarn strands through to the other side of the roll. This creates the brim of the gnome’s hat.
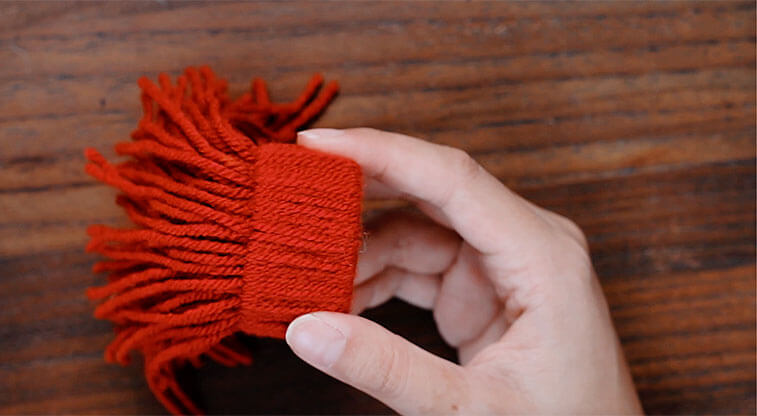
5. Cut a 6” strand of yarn or use a leftover yarn strand to tie the loose strands together at the top of the gnome’s hat. Trim the loose ends so they are even. This creates the Pom Pom of the hat.
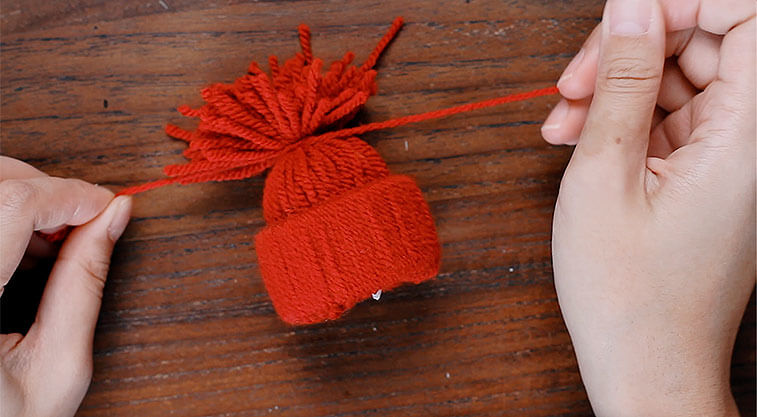
6. Cut a 6” length of string, twine or yarn. Fold in half and tie a knot at the end. Make a double knot if the string or yarn is fine. Thread the string onto a tapestry needle and insert it into the hat from the inside to the outside Pom Pom. Pull the needle through. This creates the hanging string for the gnome.
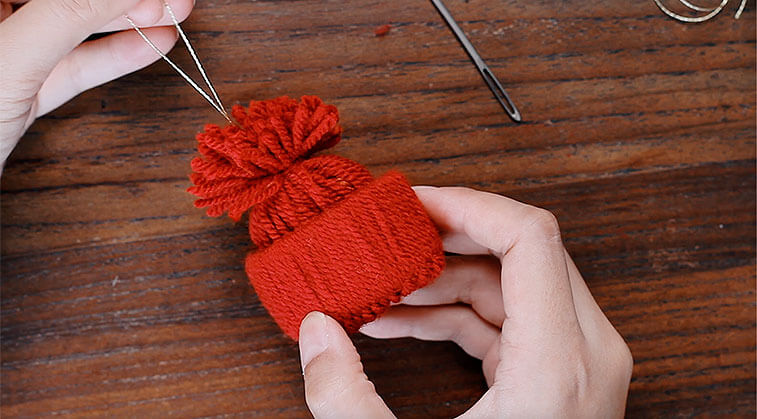
7. Insert a piece of tissue or toilet paper into the hat to create a filling.
8. To make the beard, wrap the beige yarn around the same book or cardboard 45-50 times. Wrap more times if using thinner yarn or less times if using thicker yarn. Slide the yarn loop off of the book or cardboard.
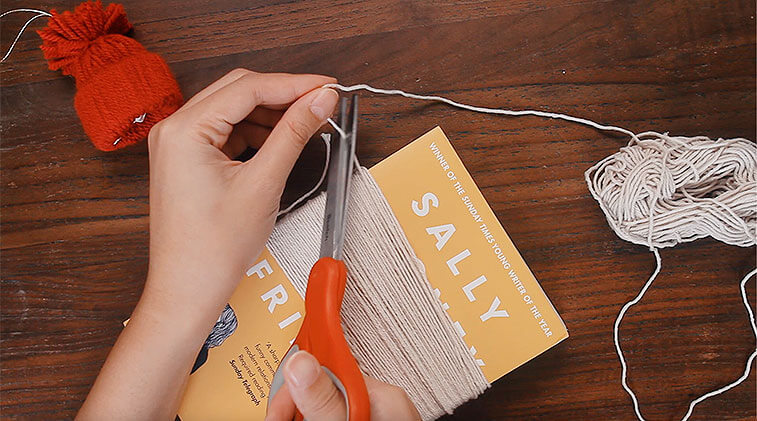
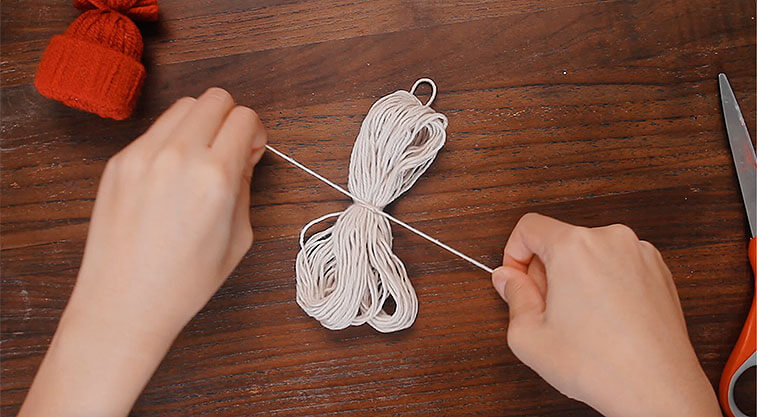
9. Cut off an 8” length of yarn and tie it around the beard yarn loop. Then cut the yarn loose on both sides of the yarn loop. This is the gnome’s beard.
10. Fold the beard in half. Heat up the glue gun and dab a big glob of glue onto the middle of the beard. Then stick the beard into the hat, holding it in place until the glue dries, about 20 seconds.
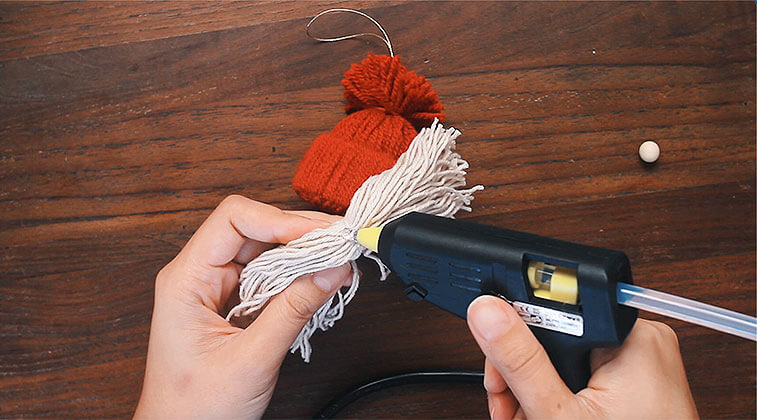
11. Glue the sides of the beard onto the inside of the hat to secure it in place.
12. Glue the wooden bead onto the beard, so that the hat slightly covers the top of the bead.
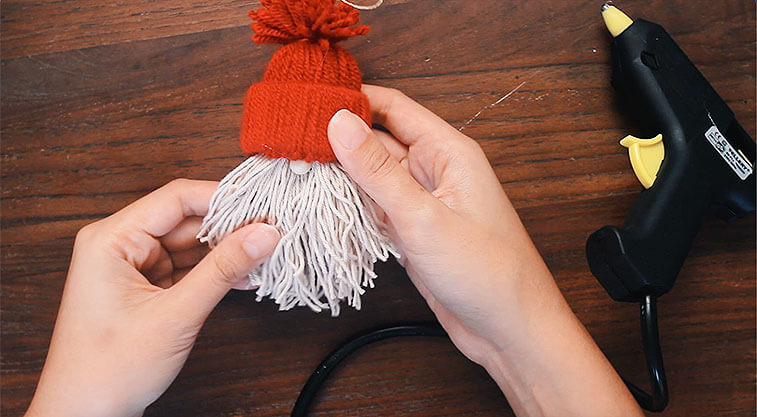
13. Trim the beard and the gnome is complete!
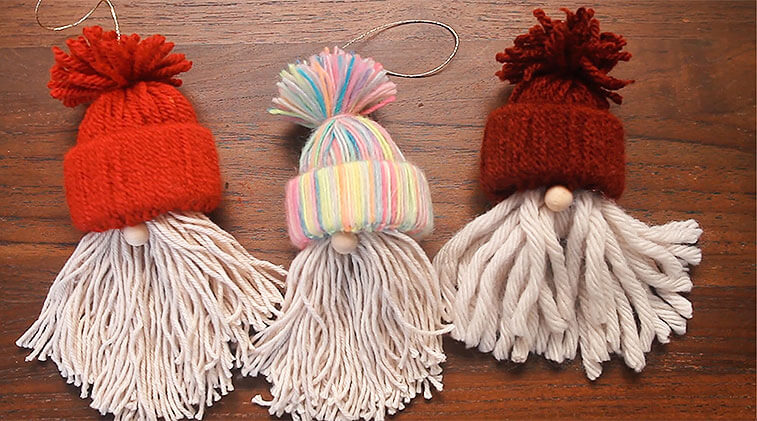
In the tutorial I’ve used worsted weight yarn, but the gnome also looks adorable with a chunky yarn beard!
What size is the gnome nose? I’ve completed all except the nose. They are so cute.
Sorry for the late reply! They are just shy of 1cm.
These are great! Have made them in the past. Looking forward to making again. Thank you.