Today I’ll show you how to make a pom pom without a pom pom maker!
Pom poms add cheer and whimsy to every project. They make great accessories, and they’re the cherry on top of a knitted hat.
Thankfully, making a pom pom is not hard. If you can use a pair of scissors, then you can make a pom pom.
The secret to the perfect pom pom involves three steps:
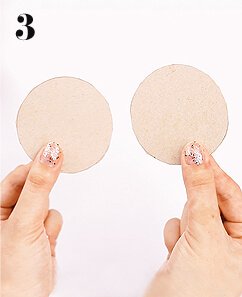
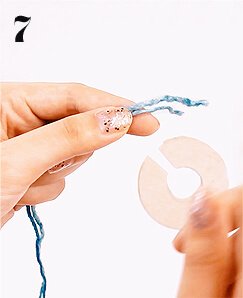
- use lots of yarns when wrapping your donut
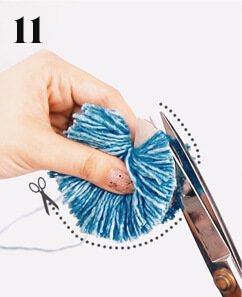
- make sure your scissors are super sharp
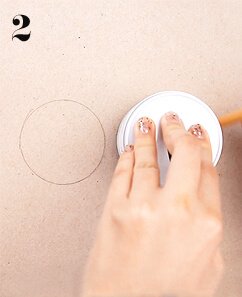
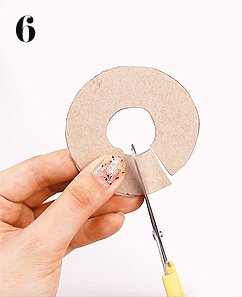
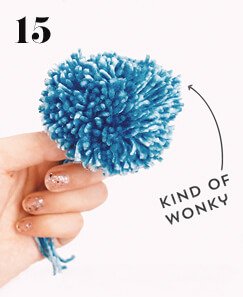
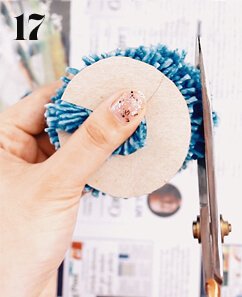
- use your donuts as a tracer to help you cut a perfectly round shape
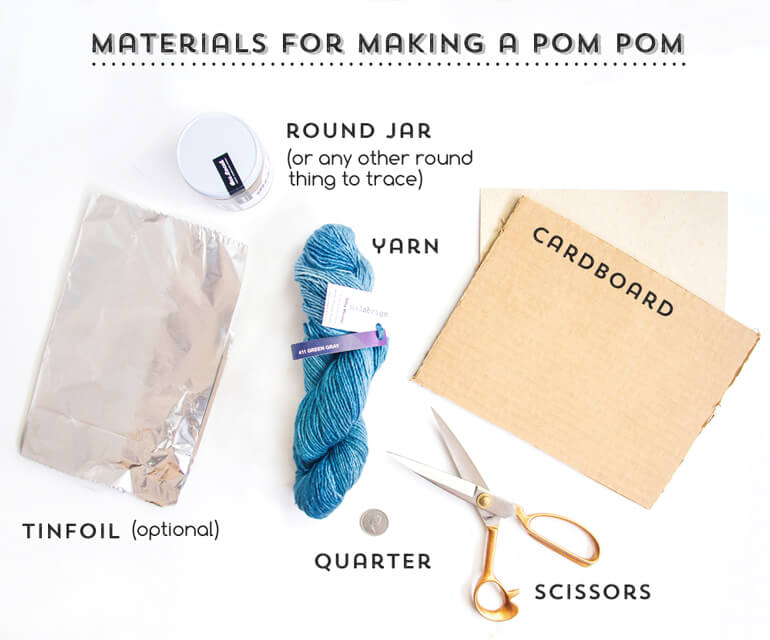
Table of Contents
What You Need to Make a Pom Pom
The materials you’ll need to make a pom pom are pretty easy to source. In most cases, you’ll have them in your home. You’ll need:
- yarn (in this tutorial, I’m using Malabrigo Silky Merino)
- cardboard (use old tissue or cereal boxes or the backs of notebooks)
- pair of sharp scissors (the sharper the better)
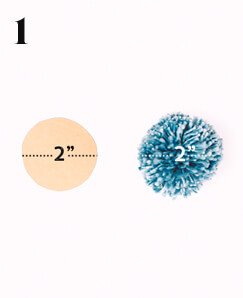
- something round that you can trace (like a jar or a can of soup)
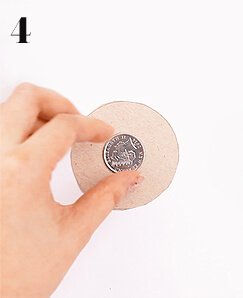
- something round and even smaller that you can trace (like a quarter or a roll of tape)
- tinfoil (optional for sharpening dull scissors)
The Best Yarn for Making a Pom Pom
Okay, there’s no objectively “best” yarn for pom poms, so take the following with a grain of salt.
In my subjective opinion, the best yarn for making poms is single-ply yarns. This opinion is based on the premise that fuzzy pom poms make the best pom poms.
Single-ply yarns tend to fuzz up easily because of their lack of yarn plies and twist. This means that they don’t have as much structural integrity, and when knitted up, they are susceptible to pilling.
They’re a “softer” yarn than multi-ply yarns. It’s this “softness” and floppiness that makes them not-so-great for knitting hardy sweaters, but excellent for making soft and fluffy pom poms.
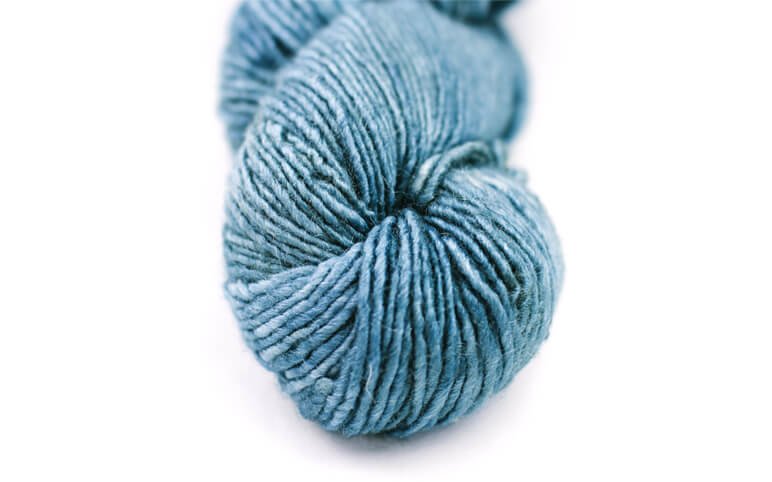
The yarn I’m using in this tutorial is Malabrigo Silky Merino in the colour Green Grey. It’s a one-ply silk and merino wool blend.
It’s got great shine and is incredibly soft. Perfect for making pom poms!
A Tip for Successfully Trimming Pom Poms
Okay, before we get this started, I need to stress how important it is that you use sharp scissors. If your scissors are dull, you will have a hellacious time trimming your pom.
With dull scissors, there’s a chance you will rip out yarn strands, howl in frustration and squirt hot tears all over your unfinished pom. There will be cursing and gnashing of teeth.
To save yourself the drama, make sure your scissors are sharp. Test them out by snipping your yarn a few times. If it cuts smoothly, you’re good to go. If it doesn’t cut through, then bring out the tinfoil! (not for a hat)
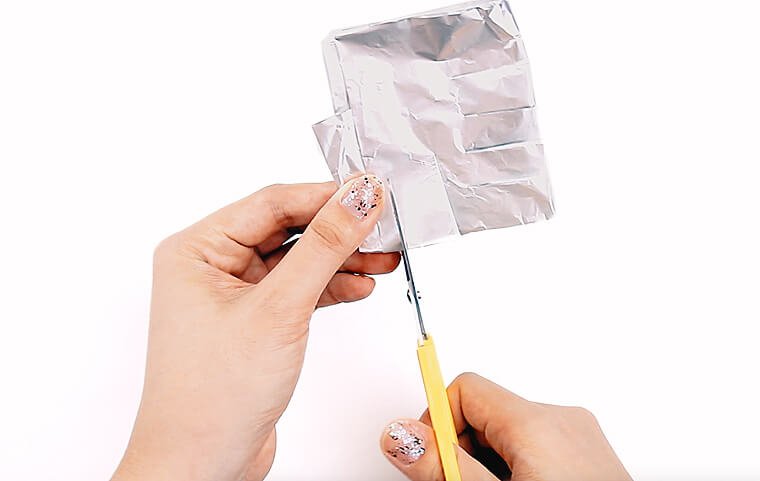
Fold a piece of foil four or five times. Then cut through it with your dull scissors a few times. This will temporarily sharpen your scissors by getting rid of burrs on the blades, making yarn cutting much smoother.
Now, a few caveats. This is a quick fix and not a long-term solution for dull scissors. If you continuously use this method, you might actually end of making the scissors more dull!
If you’re using expensive scissors, you should get them professionally sharpened or invest in a sharpening stone. But for cheap craft scissors, I find the tinfoil method works in a pinch.
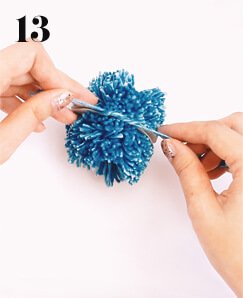
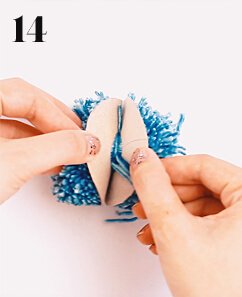
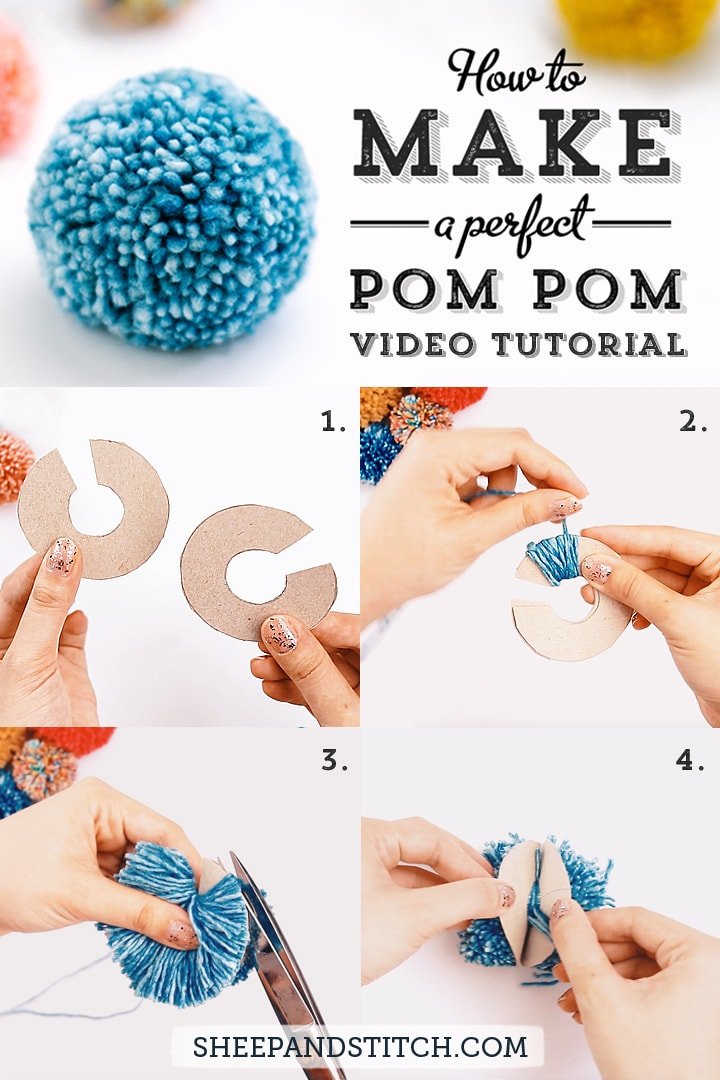
Making a Pom Pom Step-by-Step
Now, let’s get our pom pom on! You have two options: watch the video tutorial or follow the obsessively detailed step-by-step photo guide. Both are below. The choice is yours. Let’s do this!


Make a Pom Pom Video Tutorial
If you want a comprehensive video tutorial for pom pom making, then watch below. You’ll get a step-by-step guide on making perfect pom poms!
Pom Pom Craft Ideas
You’ve made a pom pom! Woohoo! After you’ve finished bouncing it around like a gleeful kitten, you might wonder, now what?
My friend, now is where creativity and whimsy can really shine!
There’s no shortage of pom pom craft ideas online. In addition to some ubiquitous ones, I’ll show you some off-the-beaten-path options for putting your poms to good use.
Here are the ways that I’ve used the pom poms I’ve made:
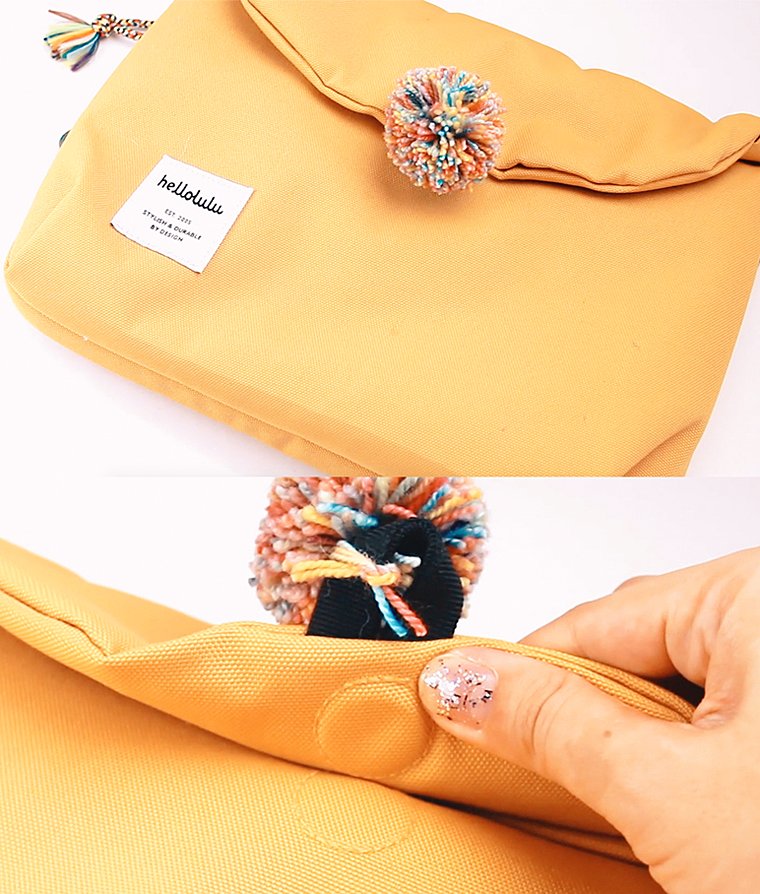
1. Attached to my laptop bag. I’ve tied a small pom onto the pull tab of my laptop bag here. Easy peasy. I could glue gun it down for extra stability, but I just keep it tied in case I want to switch out another pom pom or take it off completely.
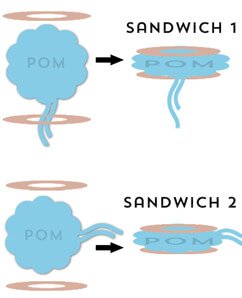
2. I love using pom poms to wrap gifts, where the pom takes the place of the proverbial bow. To make a pom-bow for gift wrapping, cut a length of yarn that’s long enough to wrap around your gift, with a few extra inches for knotting.
Then, use this yarn tail to secure the pom (Step # in the photo guide), making sure that the pom is tied at the halfway point along the yarn tail. Then tie up your pom-bow!
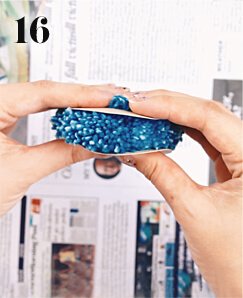
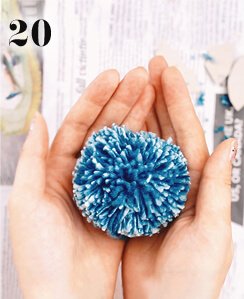
3. Pom poms for stress. This is unusual and a bit unorthodox. When I get stressed or overwhelmed, I enjoy squeezing a big pom in my hand as if it were a stress ball. It’s oddly relaxing to mash a pom in your hand.
If you’re into ASMR, the sound of yarn crunching is also sensorily satisfying. Of course, after manhandling the pom, I’ll shape it back into a nice ball!

How to Make Fuzzier Pom Poms
I mentioned up top that I think one-ply yarns make the fuzziest poms.
But what if you’ve only got multi-ply yarns?
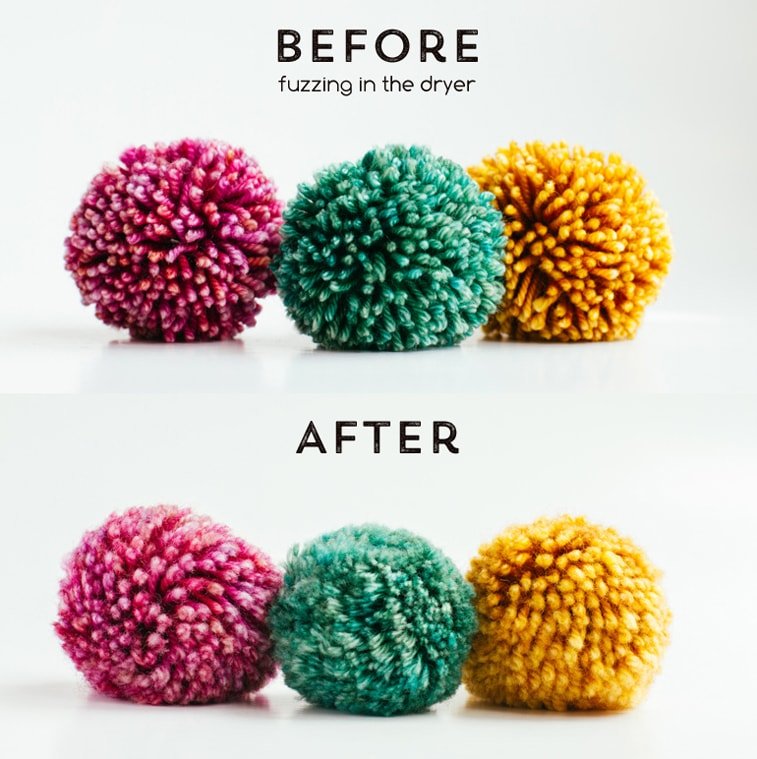
Not to fear! I’ve compiled three ways to make your pom poms super fuzzy! It mostly involves everyday household objects.
Click This: 3 Ways to Get Fuzzier Pom Poms


Leave a Comment